(*Affiliate links used whenever possible at no extra cost to you.)

It’s time for a new Stock Your Stash challenge! And this month, Reverse Confetti is celebrating all things Thanksgiving and Friendship. How appropriate with the holiday season fast approaching. There is a new Stock Your Stash challenge posted on the Reverse Confetti blog on the 1st of each month. Enter your design between the 1 to 29th of the month on the Reverse Confetti blog. All you have to do is create a card or some other craft with your RC stash! You can enter as many times as you wish. At the end of the month a random winner is chose to win a $20 gift certificate to the Reverse Confetti store. Don’t forget to tag RC and use #SYSChallenge on social media!
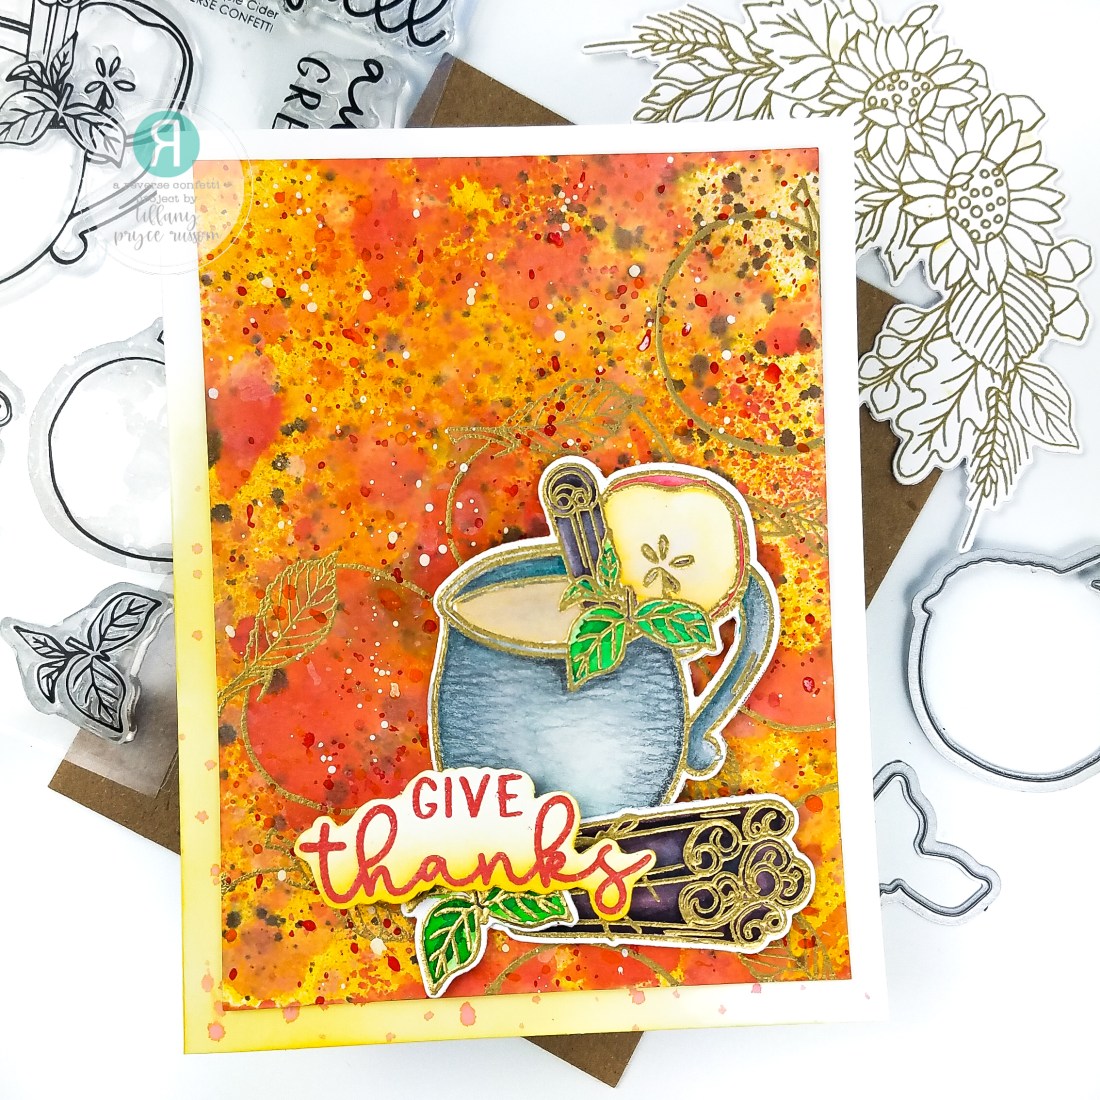
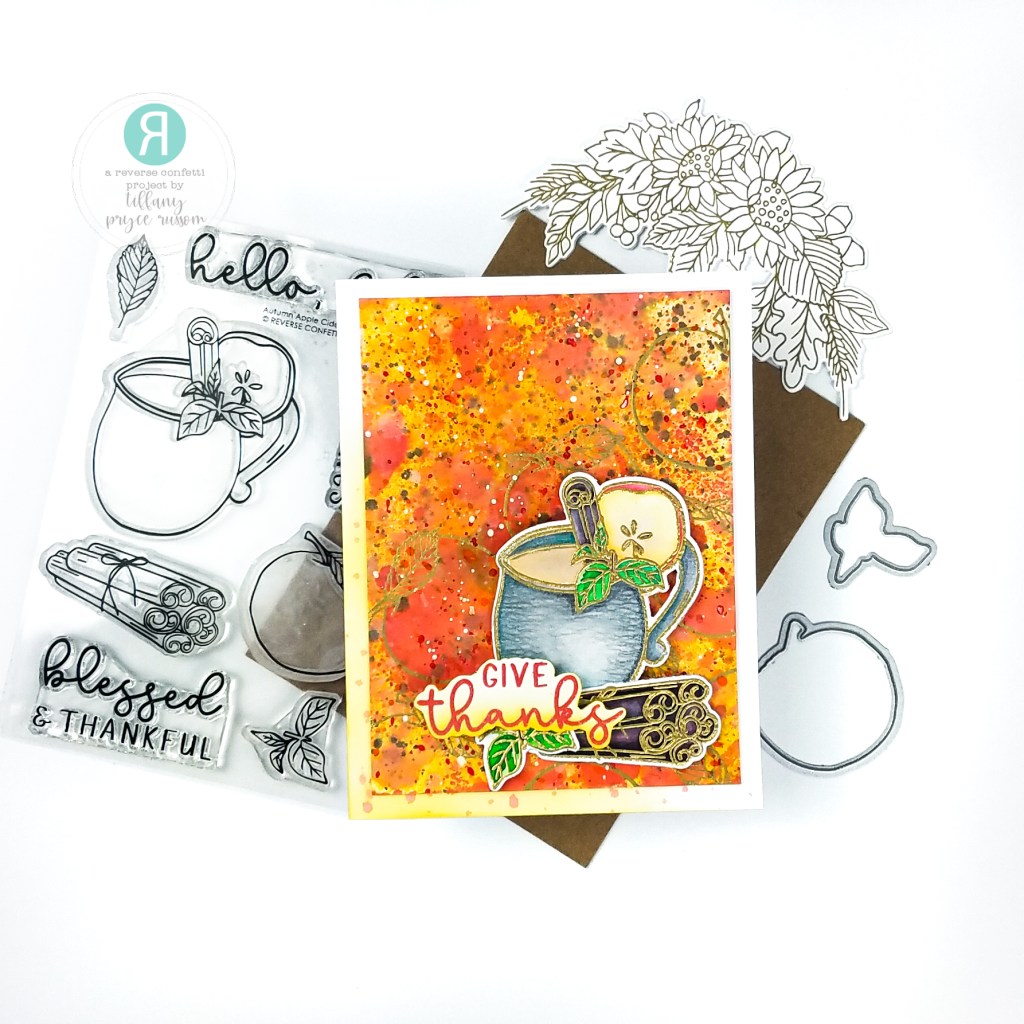
If you remember my September card, I used the seasonal Tim Holtz mica sprays. Well, I used them again in different colors for a fall-inspired background. I love making inky backgrounds! To start, I ink smooshed several orange, red, and yellow distress inks and then sprayed with mica sprays Flickering Candle, Crooked Broomstick, and Jack-O-Latern. I added additional texture with water droplets and splatters from my acrylic gloss sprays. The background process is never precise. I just add a bunch of colors, dry between layers, and keep going until I like the final look. Or until I think I might ruin the background if I dare add any more ink, haha. 🙂
After inking and after the panel was completely dry, I gold heat embossed several apples using the Autumn Apple Cider stamp set. Next on a separate piece of watercolor paper, I gold heat embossed and watercolored a few images from the Autumn Apple Cider set. I used my Jane Davenport watercolor brush markers for some very simple coloring. After coloring, I die cut the images with the coordinating Confetti Cuts. The sentiment is from the Fall Flowers stamp set. I stamped it in Candied Apple distress oxide ink and clear heat embossed it. I fussy cut the sentiment and blended some yellow dye ink on the bottom for an ombre look. I arranged my images and adhered them with foam tape making sure that all of the images were level. On the card base, I lightly ink blended some yellow ink and splattered with orange watercolor just to tie in the mixed media look. And that’s it! A pretty simple card with a busy background. Hope you’re inspired to play along with us.


Product list:


*Affiliate disclosure: I only use, review, and blog about products/companies I actually like and will continue to use. Some of the products shown on my blog use affiliate links. These affiliate links allow me to earn a small commission when products are purchased through those links. *This is at no cost to you!* Please do not feel obligated to use my affiliate links. If you choose to use these links, thank you so much! It helps support my blog and bring new content to you. Read the full disclosure on the about page.
