
(*Affiliate links used whenever possible at no extra cost to you.)

Hi there, thanks for stopping by! I’m thrilled to be guesting for Ellen Hutson and the fabulous, new holiday release! I know it is only October, but I’m dreaming of snow so I thought I would create a winter wonderland on my card. I love waking up to see fresh snow blanketing the ground and the trees. It’s the perfect backdrop for a cuppa and quiet moments. The best snow is the kind that I can watch from indoors and don’t have to shovel, haha. Anywho, let’s dive into the card!

Background
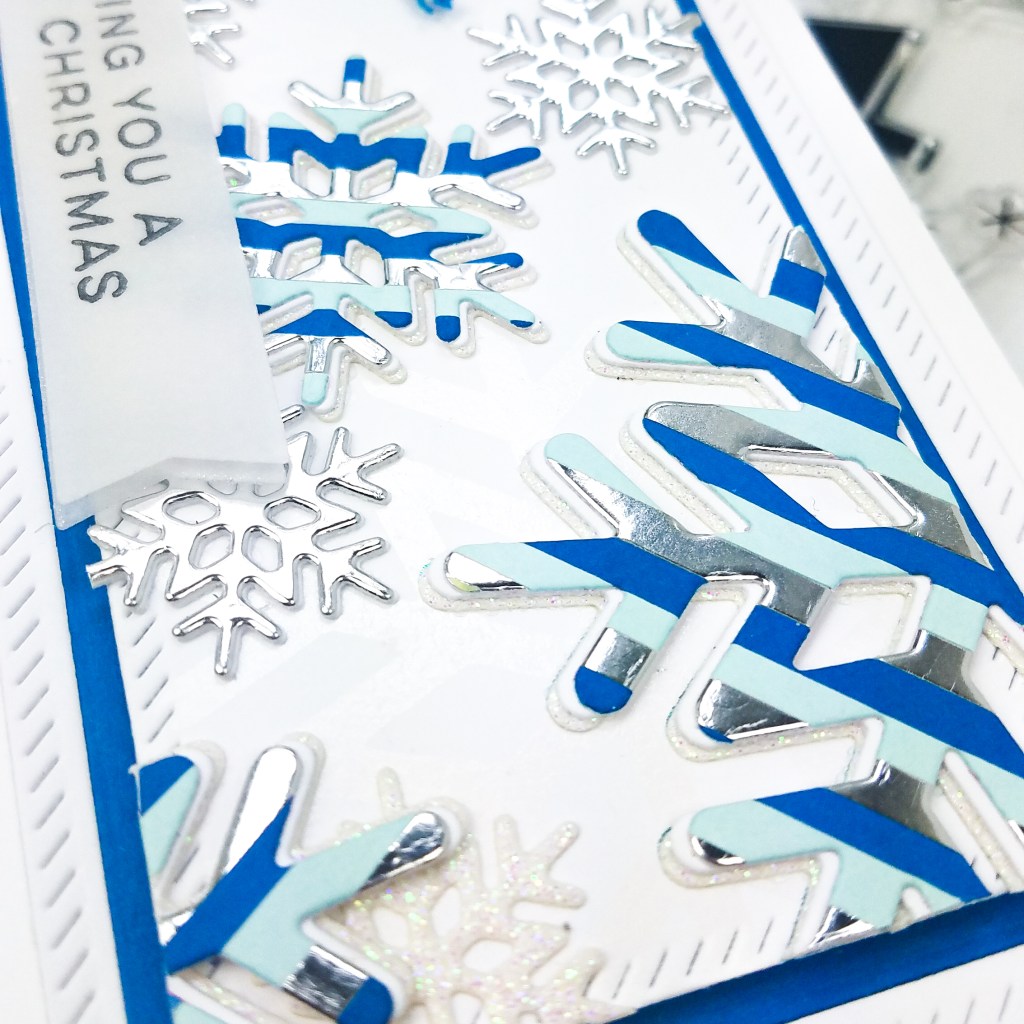
I started by foiling the new Snowflake hot foil plate several times on a panel of white cardstock. I used the Opal Glimmer Foil so it is very subtle on a white background, but catches the light beautifully. After foiling the snowflake several times, I die cut the panel with the Pinkfresh Mini Slimline Essentials Bundle.


Snowflakes
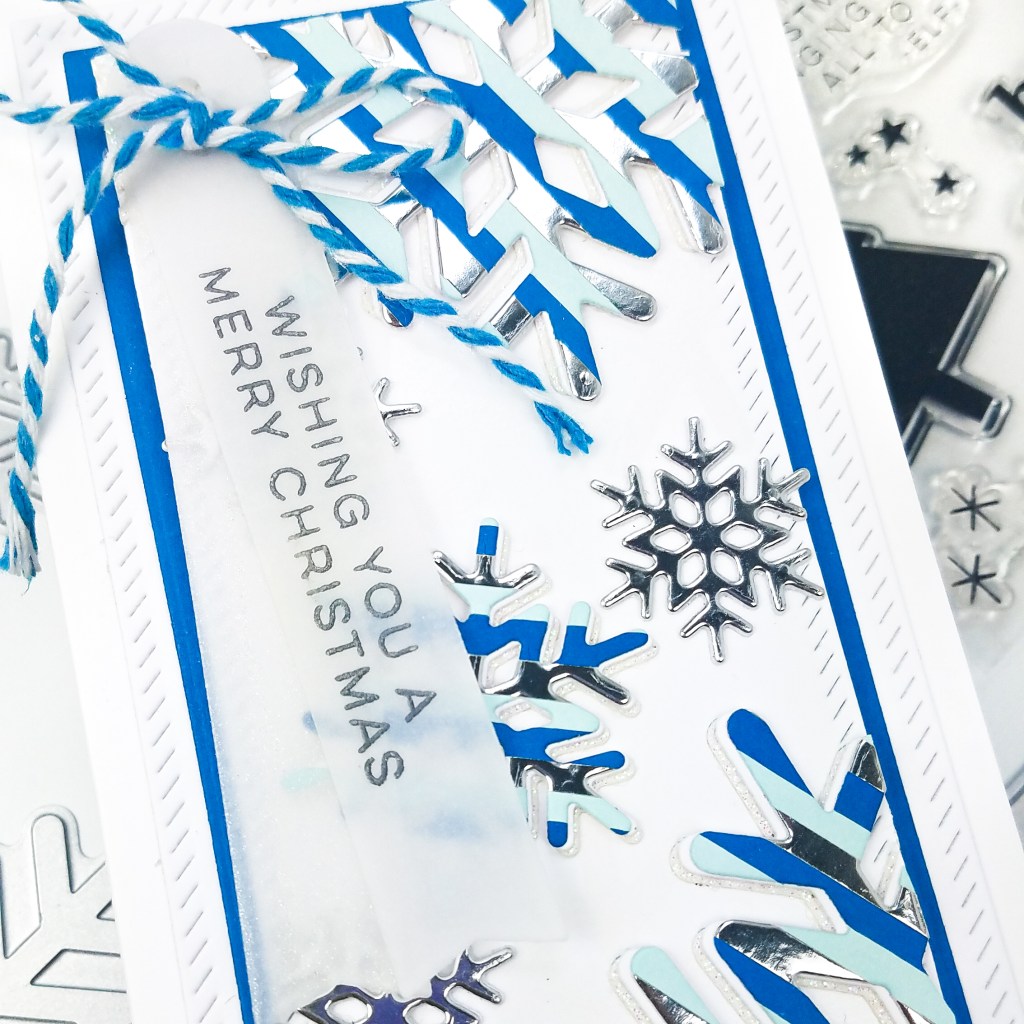
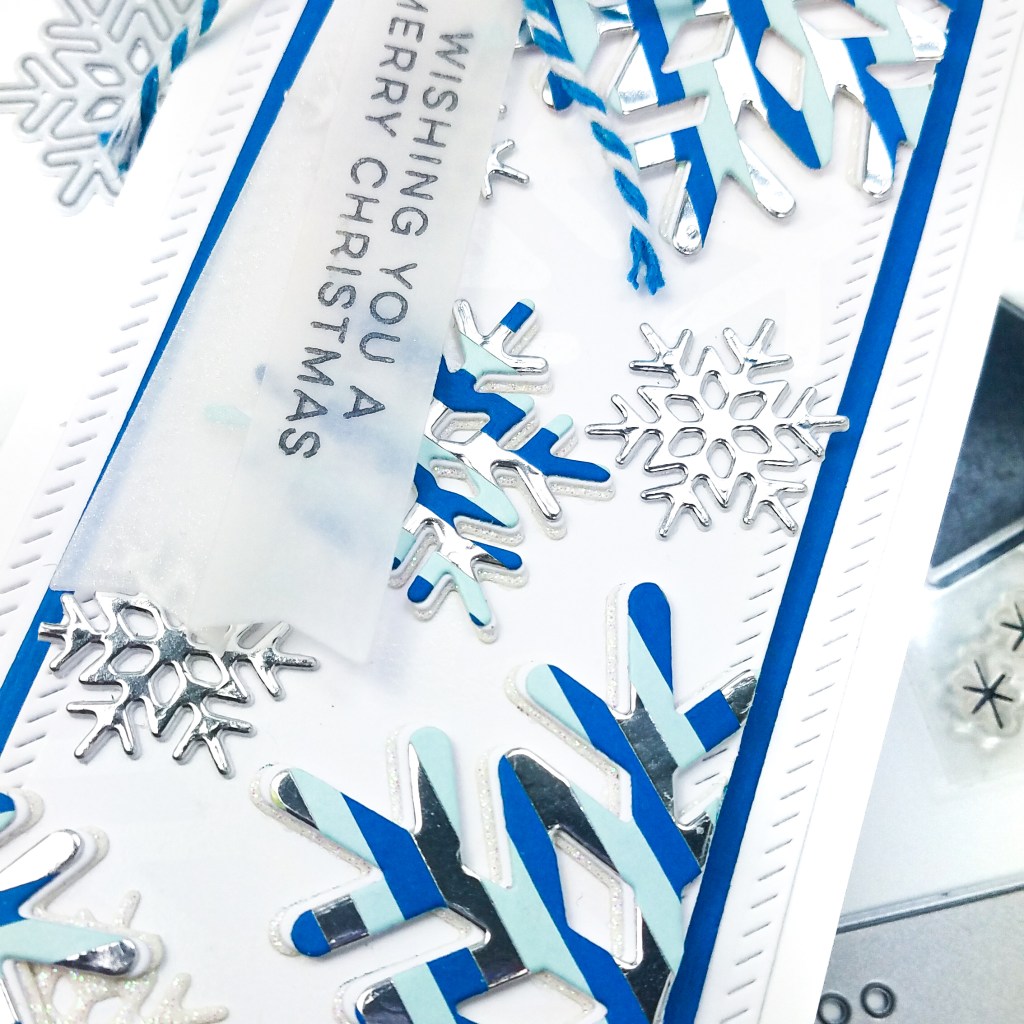
My scrap cardstock pile is ever growing, so I decided to use my scraps to die cut all of my snowflakes. I started by trimming 1/8 inch strips in various shades of blue and silver foil cardstock. I adhered the strips with tape runner to a piece of grid paper in order to keep the lines straight. I prefer to use tape runner for this technique because it is less messy than liquid glue and I can reposition the strips if I need to. After I finished the paper strips, I die cut three snowflakes using the new Snowflakes dies. I also die cut several more snowflakes from white, glitter, and blue cardstock.


I adhered each snowflake together and then adhered them to my foiled card panel. I trimmed the excess. The striped snowflakes have three layers and I offset the layers so each color was visible. The smaller snowflakes were either 1 or 2 layers. Varying the depth gives your card more dimension and interest. I also die cut matte layers for the snowflake panel using other dies from the Pinkfresh Mini Slimline Essentials Bundle. I adhered the matte layers together with liquid glue.

Sentiment
I die cut two pieces of vellum using the Farmhouse Tags dies. On one die cut, I silver heat embossed a sentiment from the new Holly Jolly Christmas stamp set. I masked the sentiment so I only stamped the first part of the sentiment. On the second vellum tag, I used a glitter marker to add some sparkle. I tied the tags together using some twine I had in my stash that I received from a previous Ellen Huston order. 🙂 I adhered the tags with a glue dot to the card front.
To finish the card, I adhered the snowflake panel with foam tape to the blue layer, and adhered everything to a mini slimline card base (3.5in x 6.5 in).

Free Gift!

If you spend over $75 on Essentials by Ellen products (like all of the products in the new release), get a free stamp set! Oh What Fun! Be sure that you are in the Essentials by Ellen category.
Hope you enjoyed my card, thanks for stopping by! If you’re inspired, please be sure to check out the full release on the Ellen Huston website.
*Affiliate disclosure: I only use, review, and blog about products/companies I actually like and will continue to use. Some of the products shown on my blog use affiliate links. These affiliate links allow me to earn a small commission when products are purchased through those links. *This is at no cost to you!* Please do not feel obligated to use my affiliate links. If you choose to use these links, thank you so much! It helps support my blog and bring new content to you. Read the full disclosure on the about page.
