
Hey there! Did you check out the new release yesterday? If there are certain sets that you’re interested in, get them in a bundle deal while supplies last. The bundles are a great way to save, but once the bundle deals are gone, they’re gone. For today’s inspiration, I had so much fun coloring these critters from JB Delightful Halloween that I made a card and a gift tag that would be so cute attached to a treat bag. Jenoblade is quickly becoming my favorite illustrator!
STEP-BY-STEP INSTRUCTIONS
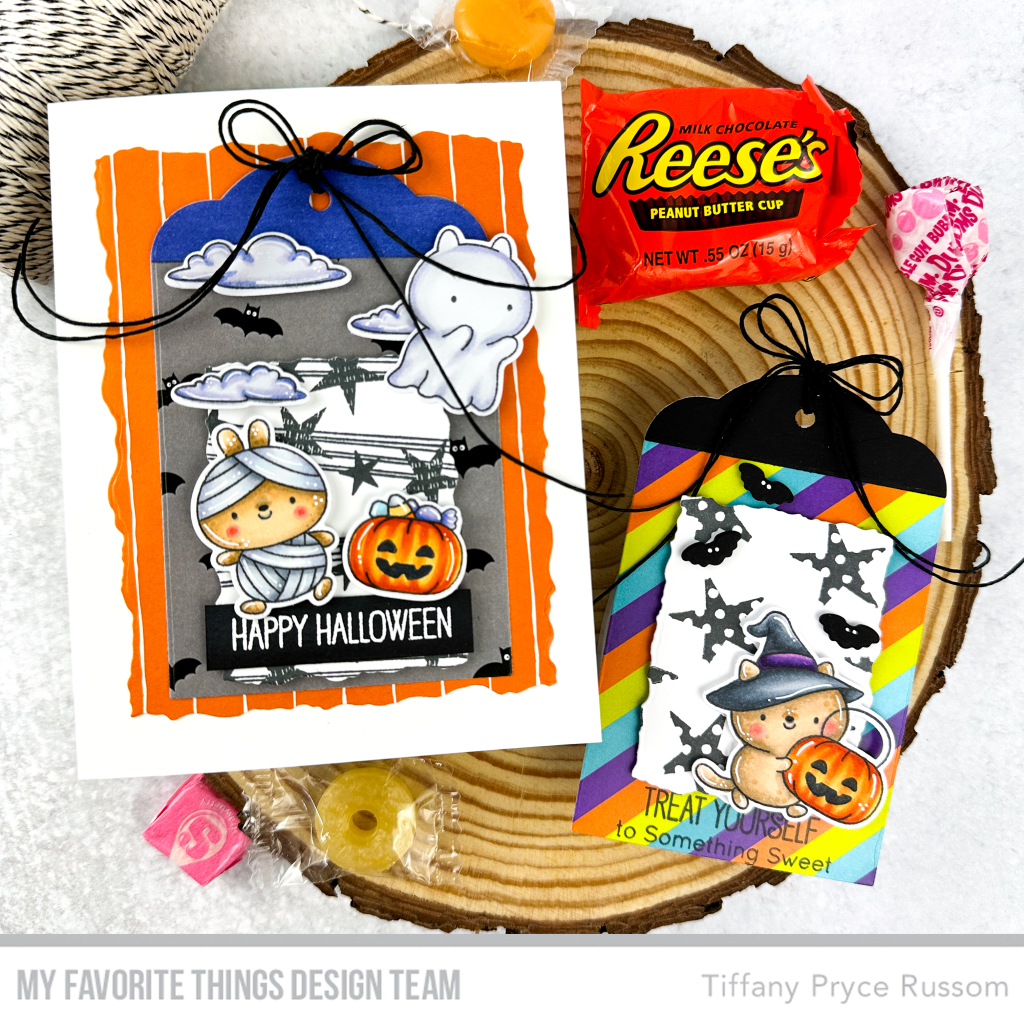
Card

- Die cut the background panel from orange patterned paper from the MSTN Spooky Season Paper Pad using the Watercolor Rectangle STAX Die-namics. Adhere to an A2 card base.
- Die cut a tag using Do-It-All Gift Tag Die-namics from another piece of Spooky Season patterned paper. Die cut the topper to the tag and color with a BV02 copic marker. Tie with black twine. Pop up the tag with foam tape on the card front.
- Die cut another, smaller panel using the Watercolor Rectangles. Stamp repeatedly with the string of stars from LJD Primitive Pumpkins with MFT Extreme Black ink. Pop up with foam tape and adhere.
- Stamp and copic color several images from JB Delightful Halloween. Die cut with the coordinating die-namics, and adhere with foam tape around the tag.
Mummy: BV000, C3, C1, C00 / E55, E53, E51, R21, R20
Pumpkin: YR18, YR16, YR14, YR21
Ghost: C1, C00, BV000, 0
Clouds: BV02, BV01, BV000, C1, C00 - White heat emboss a sentiment and adhere to the bottom.
Tag
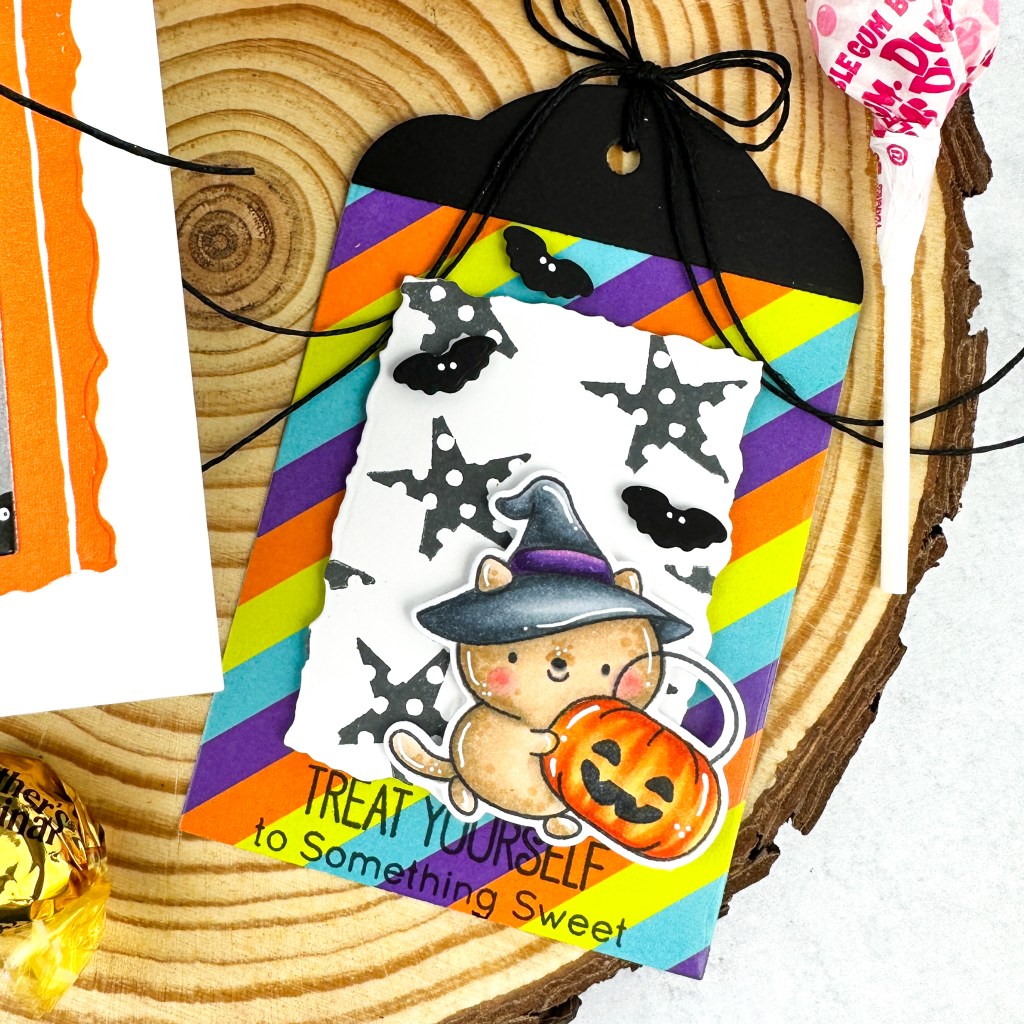
- Die cut a tag using Do-It-All Gift Tag Die-namics from a piece of Spooky Season patterned paper. Die cut the topper to the tag from black cardstock. Tie with black twine.
- Stamp a sentiment from Delightful Halloween at the bottom.
- Die cut a panel using the Watercolor Rectangles. Stamp repeatedly with a star stamp from LJD Primitive Pumpkins with MFT Extreme Black ink. Pop up with foam tape and adhere.
- Stamp and copic color several images from JB Delightful Halloween. Die cut with the coordinating die-namics, and adhere with foam tape around the tag.
Cat: E55, E53, E51, R21, R20 / C7, C5, C3, C1 / V09, V17, V12
Pumpkin: YR18, YR16, YR14, YR21 - Instead of stamping and then die cutting the bats, I just used the die and added eyes with a white pen.
Aren’t these stamps just the cutest!? Thanks for taking a look!
For more inspiration, tutorials, and a closer look at MFT products, please stop by and subscribe to the MFT YouTube channel!
Happy crafting,
Tiffany
I’d love to connect with you! Please follow me on IG and my blog, and reach out and say hi!
@ink.therapy.designs
