
One more day until the July release goes live! Today, I am featuring a new Jenoblade stamp set called Sweetest Friend. It was so fun to color these images and practice my skills. Because the coloring took so long, I just kept the rest of the card fairly simple. Hope you enjoy it!

STEP-BY-STEP INSTRUCTIONS
- Ink blend light gray ink through the Rustic Brick Wall Stencil on a white A2 panel of cardstock. Splatter gray ink through the stencil.
- Die cut the panel with the scallop die in Blueprints 27.
- Stamp a sentiment from JB Sweetest Friends on the bottom.
- Stamp several images from JB Sweetest Friends on Hammermill paper and copic color. Add white gel pen details. Die cut with the coordinating dies after coloring.
Mouse carrying the blackberry (or it can be grapes) – Berry seeds: BV29, BV08, BV04, BV02; Top: G19, YG17, YG01; Mouse: E57, E55, E53, E51, E50. After coloring with copics, I added more shading with a dark brown and/or black prisma colored pencil.
Mouse carrying the strawberry – Strawberry: R29, R27, R14, R20; Top: G19, YG17, YG01; Mouse: W8, W4, W2, W0. After coloring with copics, I added more shading with red, dark brown, and black colored pencils.
I had the most trouble with the mouse on the apple. I colored the apple probably 7 times in different ways using both my pencils and copics and nothing turned out like I wanted. Ultimately, I decided to ink blend the apple and copic color the critter. I created a mask using a full, sticky back post-it note. The mask covered up the entire image except for the apple. I used green and yellow inks to color the apple, then I added colored pencils for additional detail and shadows. For the mouse, I used E43, E41, and E40 copics. - Adhere images with foam tape. And add grounding with black and gray colored pencils. I have this thing where I don’t like my critters floating in space.
- Add bakers twine around the bottom of the panel.
- Add card front to an A2 card base made from Wild Cherry cardstock.
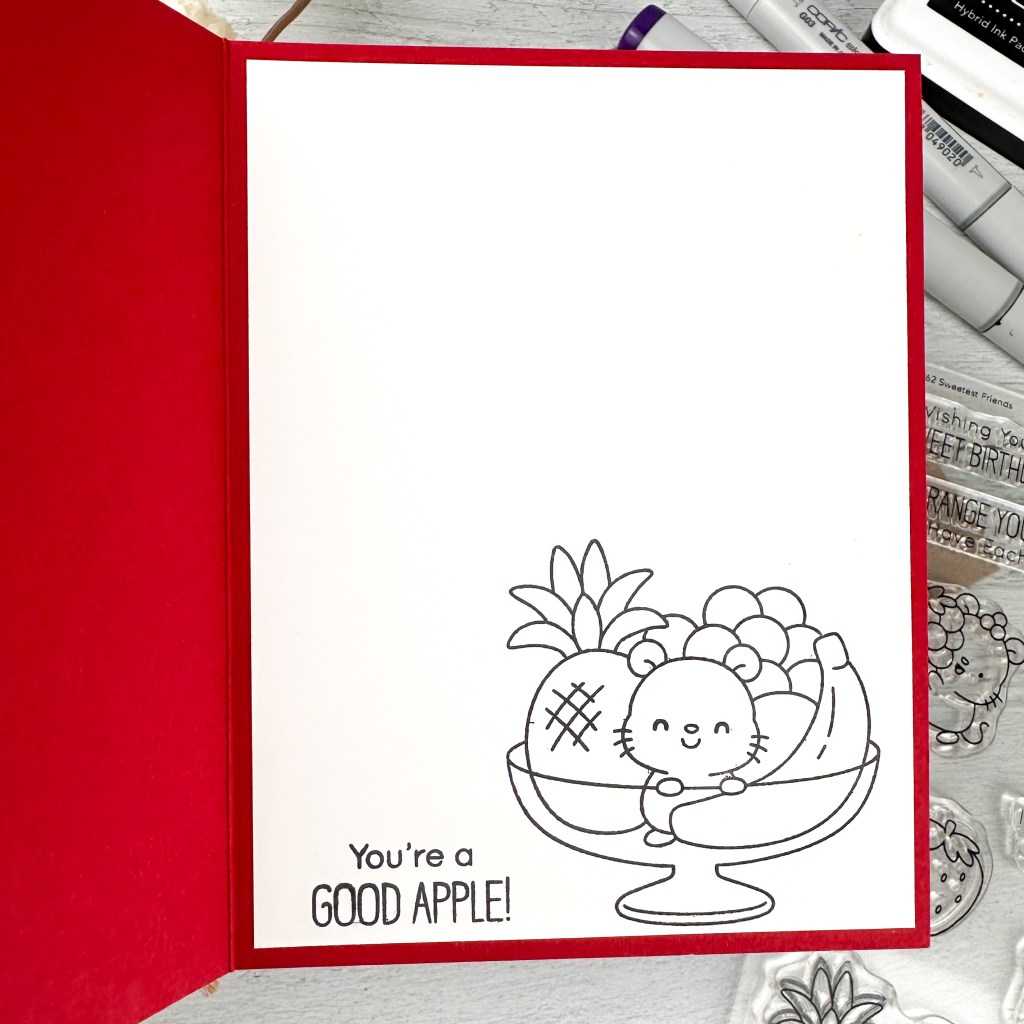
- For the inside of the card, stamp a panel of white cardstock with another image and sentiment and adhere inside.

Thanks for stopping by!
For more inspiration, tutorials, and a closer look at MFT products, please stop by and subscribe to the MFT YouTube channel!
Happy crafting,
Tiffany
I’d love to connect with you! Please follow me on IG and my blog, and reach out and say hi!
@ink.therapy.designs

Good post.I subscribed. Have a good day🍀☘️
LikeLiked by 1 person
Thank you very much!
LikeLiked by 1 person