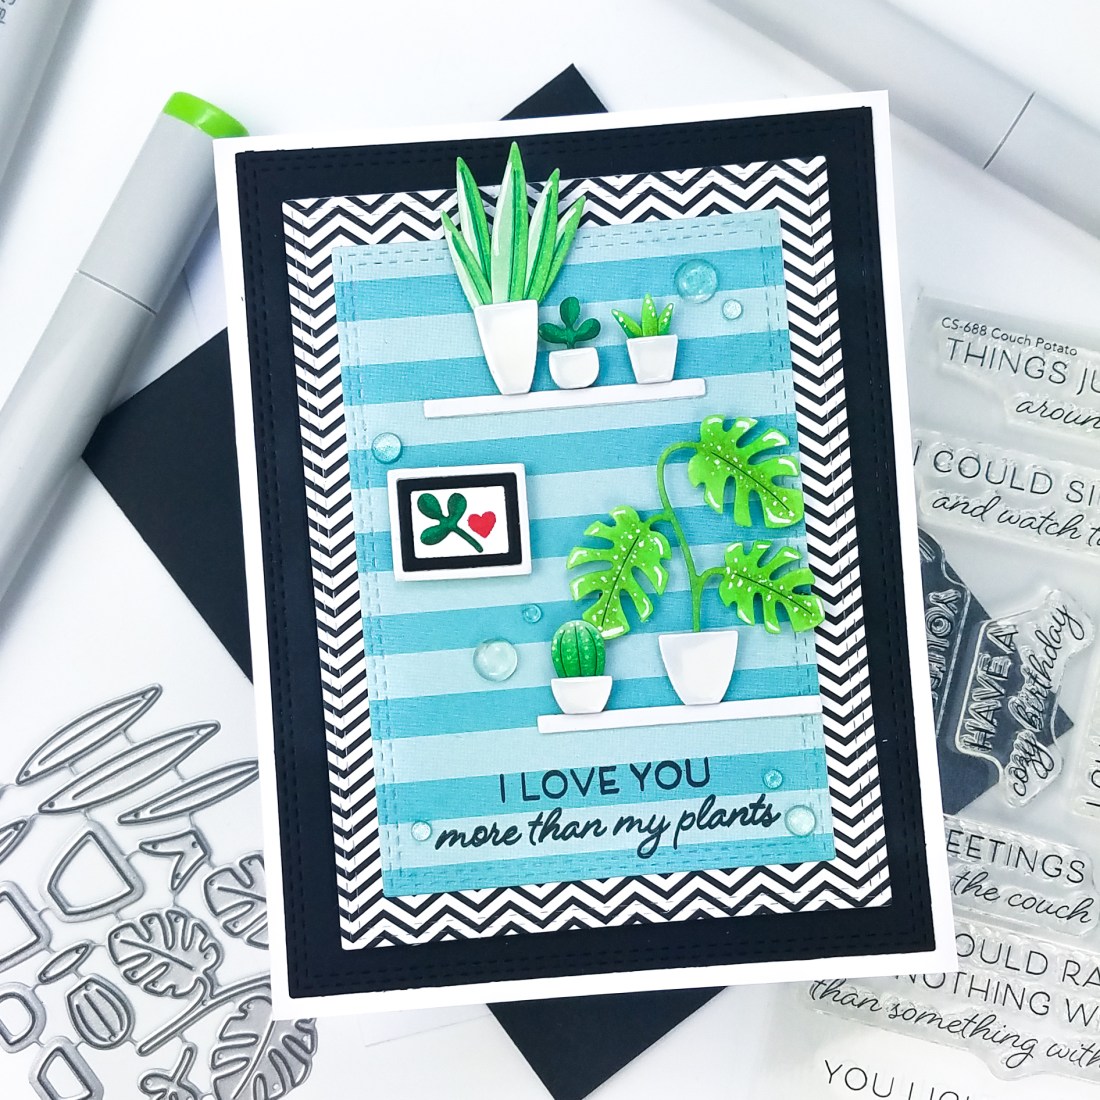

There’s a new MFT card kit, Greetings From The Couch, releasing tomorrow morning and I absolutely love it! It is so, so cute. I used to not be a fun of tiny little die cut because my hands are not super steady, and I don’t like die cutting teeny, tiny pieces. But I’ve gotten used to it and do not mind the tiny pieces in this kit. I try not to snip the tiny dies apart if I do not have to, and I use my sticky mat frequently for blending or coloring. Don’t let the tiny pieces deter you. You will love building tiny living room scenes, I promise! Dare I say, it was relaxing putting these pieces together.
For today’s card, I focused on the plants. I wish I had a green thumb, but I am not very good at keeping my house plants alive for some reason. But I have friends who have amazing, well nurtured indoor gardens, so I thought of them when I picked this sentiment. Do you have a greenthumb?
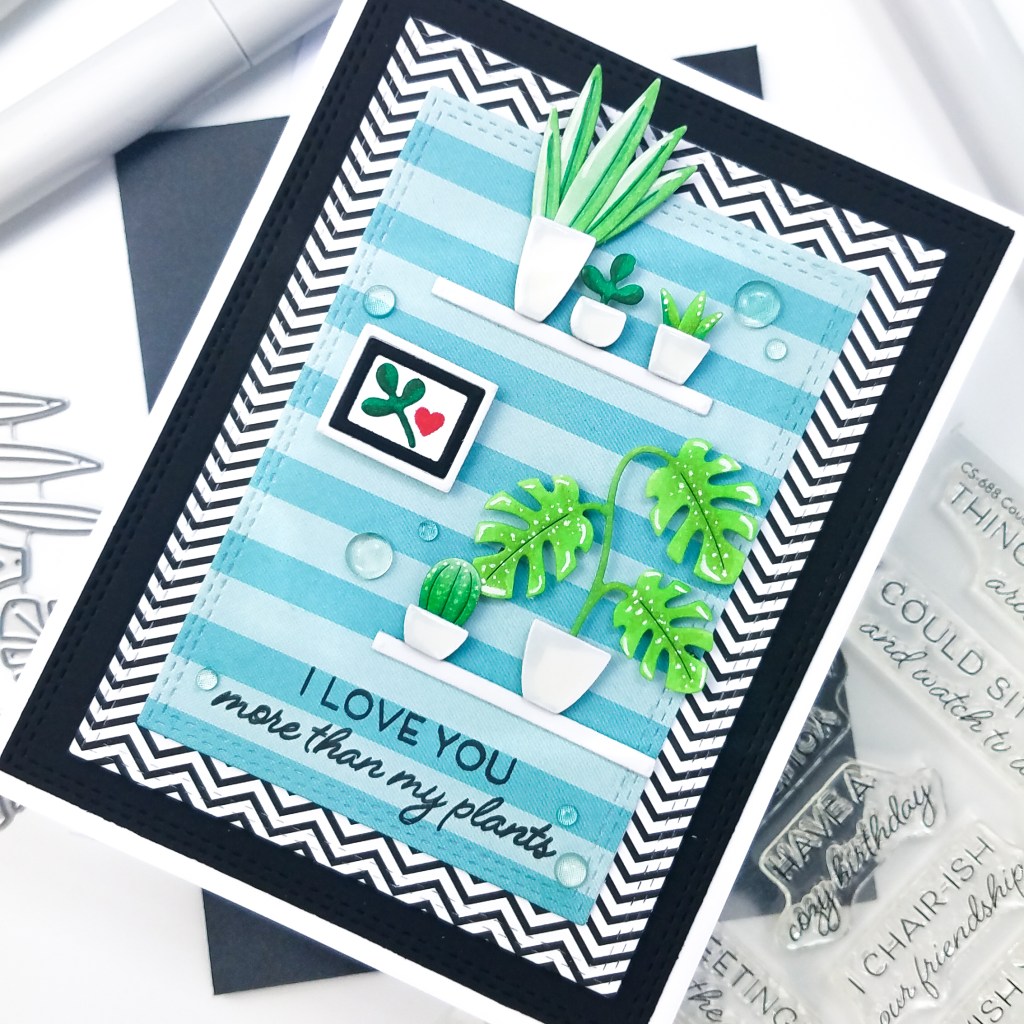
STEP-BY-STEP INSTRUCTIONS
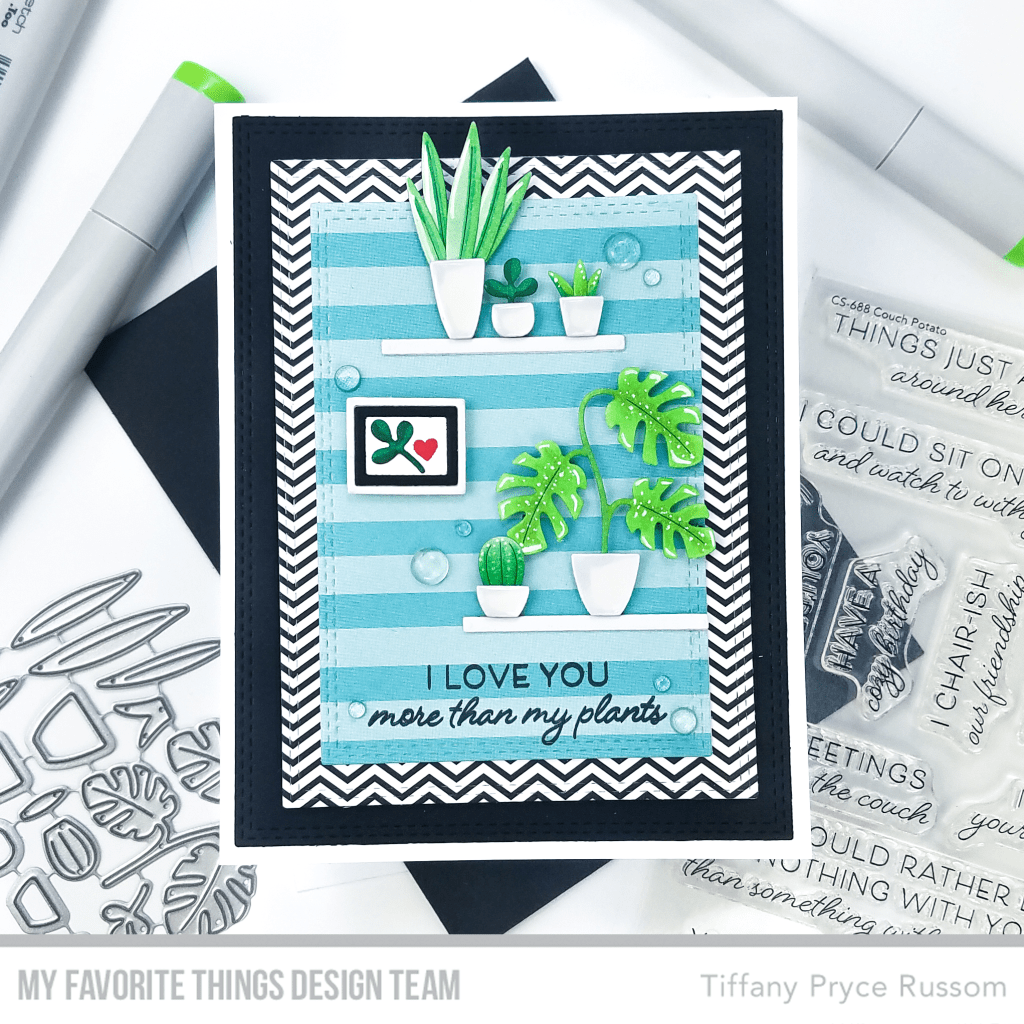
- Using the A2 Double Stitched Rectangle STAX Die-namics (a staple in my collection), die cut three layers for the background. Use black cardstock with the largest layer, and then two patterns from the Finishes and Textiles paper pad from two smaller die layers. Adhere the black layer directly to an A2 card base and the other two layers are glued together and then adhered with fun foam.
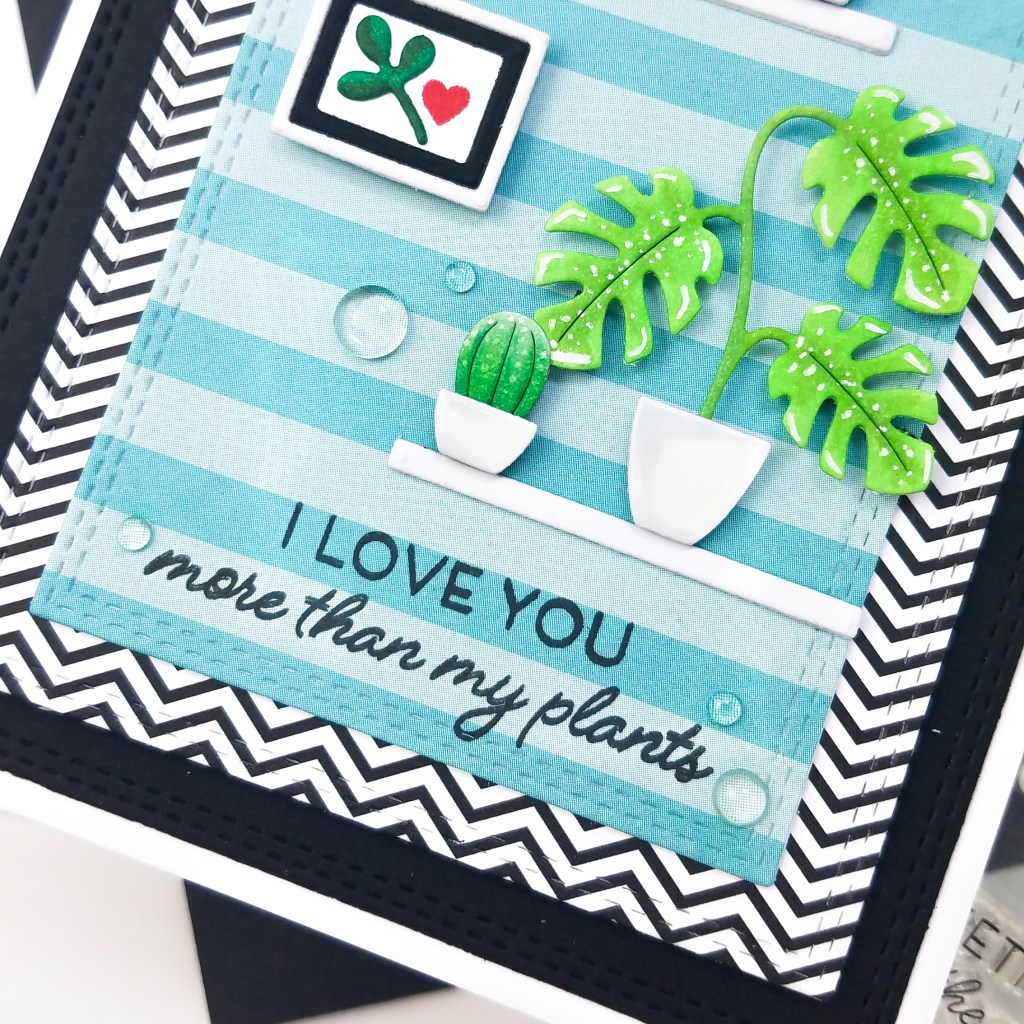
- Stamp the sentiment at the bottom from the Couch Potato stamp set in MFT Extreme Black ink.
- Die cut all of the pieces for the card front. All of the plants/leaves are from Potted Plants Die-namics. The shelf is from Fundamental Furnishings Die-namics – I used the larger table top as a shelf. The picture frame is from Decor and More Die-namics.
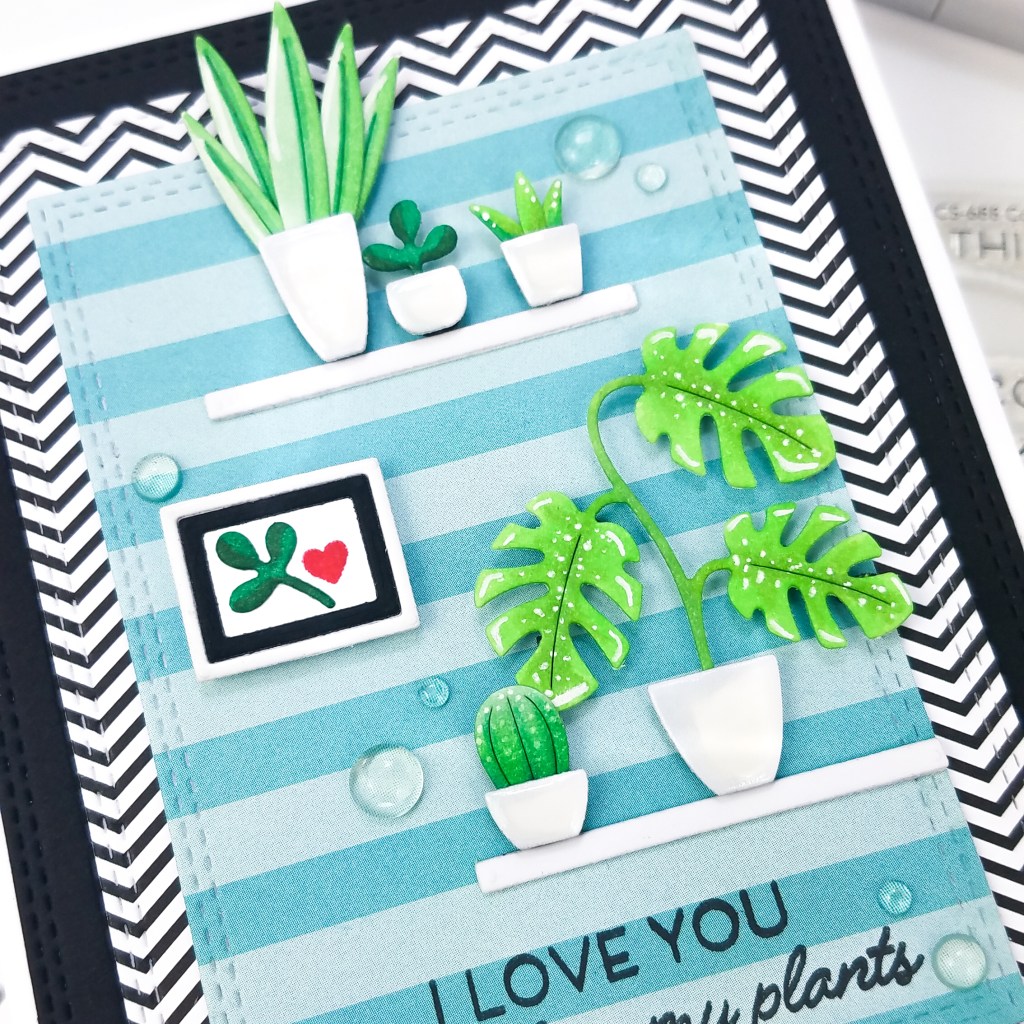
- Color all of the leaves and the pots with various G and YG copic markers. Add details with a white gel pen. Inside of the picture frame, I added one leaf die cut and a stamped heart from the Hip Hip Yay stamp set.
- Adhere all of the die cuts with liquid glue and add crystal glaze over the plant pots to mimic ceramic.
- Finish by embellishing with clear drops around the panel.
I had so much fun creating this card! Hope you enjoyed. I know I will be using this kit A LOT 🙂 Tune in tomorrow for more inspiration. For even more ideas and inspiration, please visit the My Favorite Things YouTube channel.
Happy crafting,
Tiffany
I’d love to connect with you! Please follow me on IG and my blog, and reach out and say hi!
@ink.therapy.designs
