(*Affiliate links used whenever possible at no extra cost to you.)
Happy Thursday, friends! Today, I’m sharing a trio of holiday cards + a bonus tag I made mixing some new and previously released products from Ellen Hutson. These are clean and simple so easy to reproduce and duplicate if desired. In case you missed it, Ellen Hutson just had a fun new release all about nature and camping to round out the summer. You can check out the entire release here. Make sure to visit my IG to see all of the samples I made using the new release and check out #ellenhutsonllc or the EH blog to see makes from the rest of the talented DT.
I used the trees dies from the last release to make these holiday cards. I kept a traditional color palette of black, red, white, and Kraft on them and used the same handful of supplies in various ways.

CARD 1: Happy Holidays
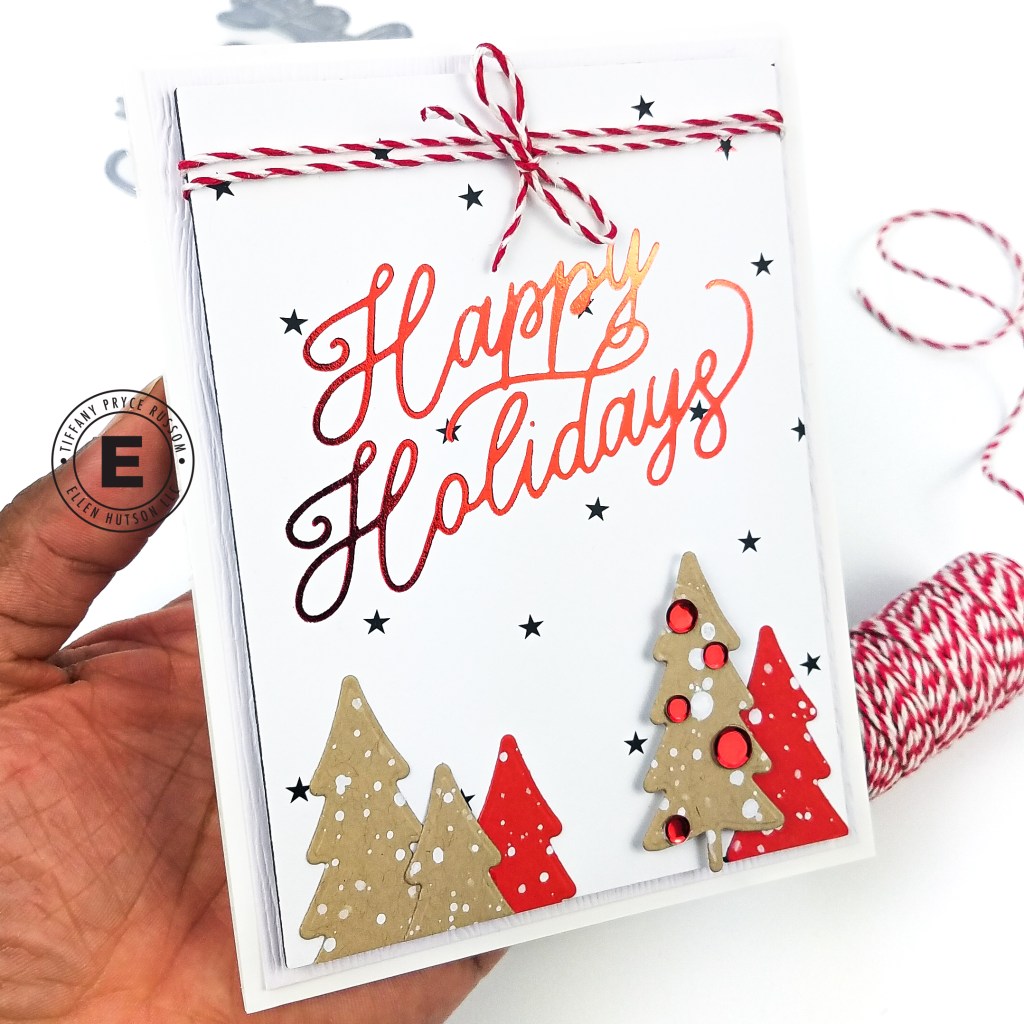
- Using red glimmer foil, foil the EBE Happy Holidays hot foil stamp on Essentials by Ellen (EBE) Modern Graphics Vol 2 patterned paper. This patterned paper is super smooth so it hot foils very well.
- Die cut the panel with the EBE Essential Rectangles dies. Die cut and adhere a few extra layers from scrap cardstock for stability.
- Wrap red and white baker’s twine around the card front for an additional detail.
- Using the tree die from Happy Trails, die cut multiple trees from kraft and red cardstock.
- Splatter the trees with white gouache. If you do not have gouache, try the copic opaque white ink diluted with water.
- Adhere the trees with liquid glue and foam tape; trim the excess.
- On one tree, “dress” it up with red sequins to mimic ornaments.
- Matte the completed card front on EBE Woodgrain paper, and adhere to an A2 card base. If you’ve not tried this paper before, it is beautiful woodgrain, textured paper that is perfect for cards all year round.


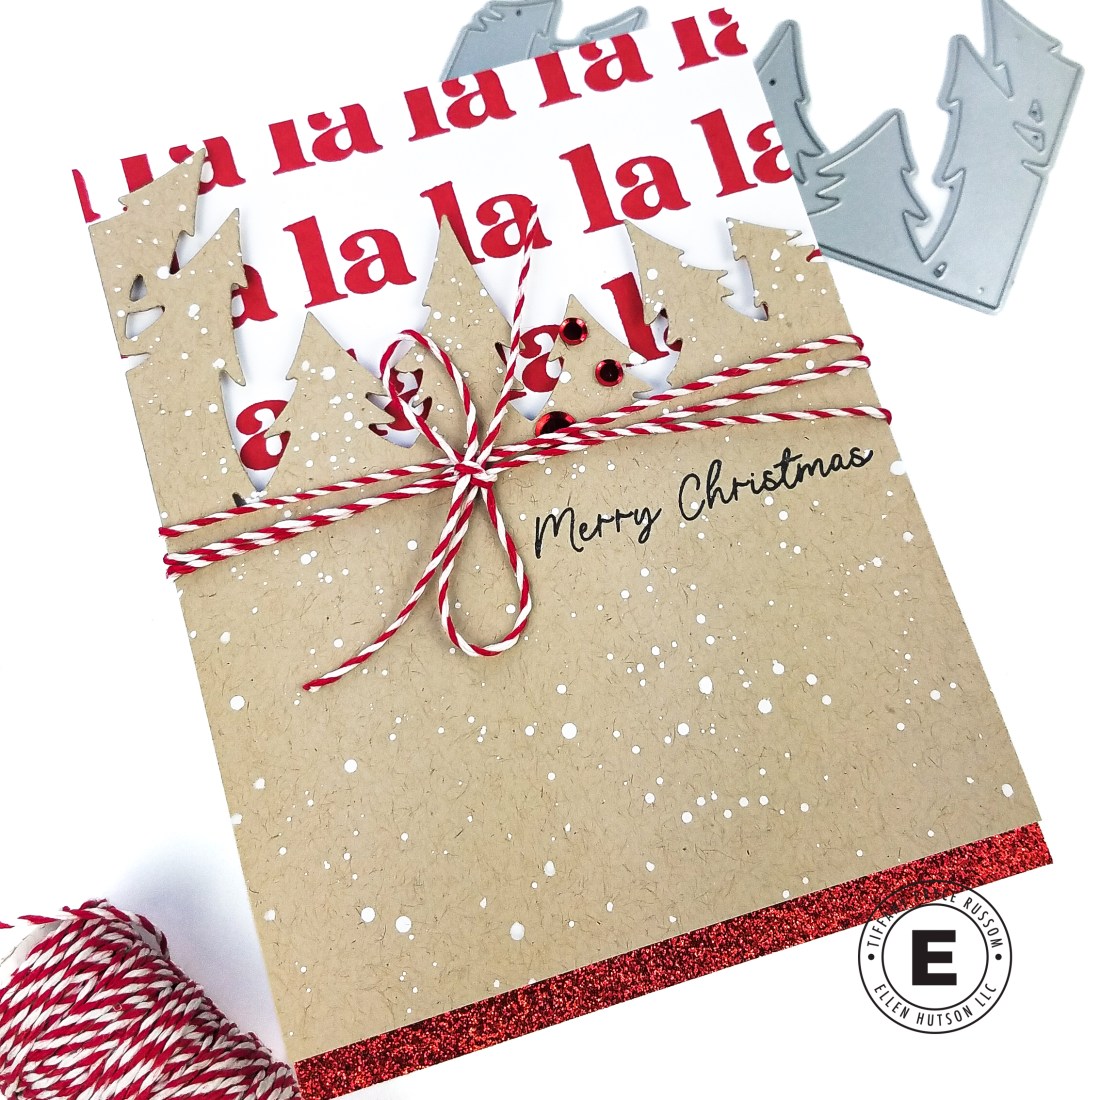
CARD 2: Fa La La La La

- On a panel of white cardstock, repeatedly stamp the Fa La La stamp from the EBE Holly Jolly Christmas stamp set in Rockin’ Red ink. You only need to ink up the top portion as the rest will be covered. Adhere this panel flat to an A2 card base.
- Using the partial die cut technique, die cut a piece of kraft paper with the Through the Trees die. You just want the tree outline at the top without cutting the bottom edge. Trim about a quarter inch from the bottom. Splatter with white gouache.
- Wrap red and white baker’s twine around the card front for an additional detail.
- Adhere the kraft panel with foam tape on top of the card base.
- Add a strip of red glitter paper at the bottom to cover the card base.
- Stamp a sentiment from the EBE Santa’s List in black ink underneath the twine.
- On one tree, “dress” it up with red sequins to mimic ornaments.


CARD 3: Believe
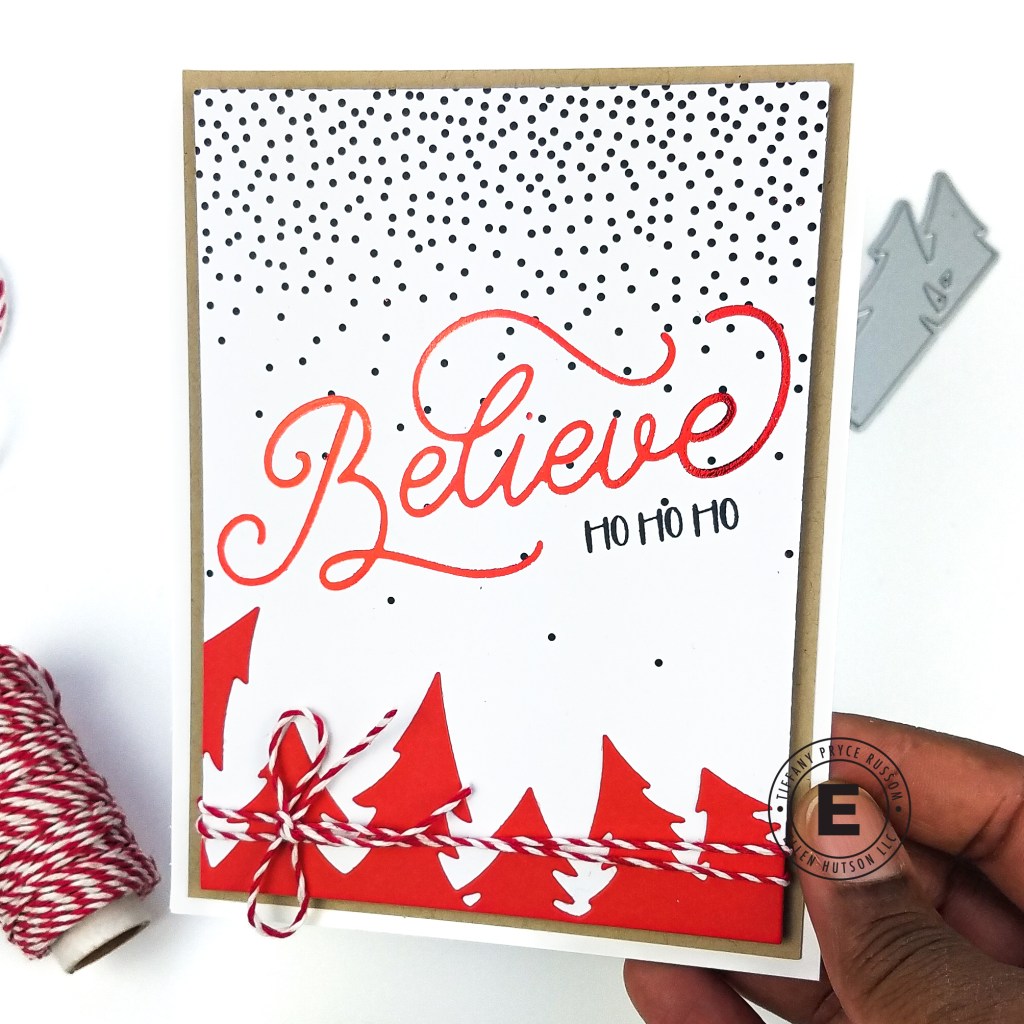
- Using red glimmer foil, foil the EBE Believe hot foil stamp on Essentials by Ellen (EBE) Modern Graphics Vol 2 patterned paper.
- Die cut the panel with the EBE Essential Rectangles dies. Die cut and adhere a few extra layers from scrap cardstock for stability.
- Stamp a sub-sentiment from the EBE Santa’s List in black ink underneath the sentiment.
- Die cut a piece of red cardstock with the Through the Trees die. Adhere at the bottom of the panel and trim any excess.
- Wrap red and white baker’s twine around the card front.
- Adhere the completed card front with foam tape to a piece of kraft paper. Then adhere to an A2 card base.


Bonus tag!

- Using the EBE Essential Stars hot foil stamp and red glimmer foil, foil several stars on a background of Catherine Pooler Ultra Smooth Cardstock. This is my new favorite cardstock for hot foiling! I have been having trouble getting a solid hot foil on my usual smooth white cardstock, and I was getting increasingly frustrated. I know a lot of people swear by Hammermill, but I do not have any. I experimented with the CP cardstock because I knew it was ultra smooth, and it worked beautifully! The only other cardstock that I could achieve a solid hot foil on is Spellbinders Specialty Glimmer Paper, but you can’t ink on that paper as I believe it is synthetic. So Catherine Pooler ftw!
- Die cut the panel with a tag from EBE Farmhouse Tags. Die cut the reinforcement with red glitter cardstock.
- Tie the tag with black twine.
- Stamp a sentiment in the bottom corner from Santa’s List.
- Stamp and copic color images from Santa’s List. I did very simple copic coloring as these are simple images. Adhere the images with foam tape.


I hope you enjoyed this inspiration! Do you have a favorite? Let me know in the comments 🙂
Supplies


Happy crafting,
Tiffany
I’d love to connect with you! Please follow me on IG and my blog, and reach out and say hi!
@ink.therapy.designs
*Affiliate disclosure: I only use, review, and blog about products/companies I actually like and will continue to use. Some of the products shown on my blog use affiliate links. These affiliate links allow me to earn a small commission when products are purchased through those links. *This is at no cost to you!* Please do not feel obligated to use my affiliate links. If you choose to use these links, thank you so much! It helps support my blog and bring new content to you. Read the full disclosure on the about page.

Great cards and tag! I really love the Through the Trees die and have it on my wish list!
LikeLiked by 1 person
Thank you Denise!! It really is such a fun die to play with!
LikeLike