
Welcome to day 3 of the countdown! We are halfway to the new release coming Tuesday at 10am ET. Today, I’m sharing a technique I’ve never tried before, but will absolutely do again – a transparent overlay using stazon ink on top of acetate. I made a few mistakes along the way with this card that I’ll share below. But I’m happy with the end results. It’s even an almost one layer card which is nice!

STEP-BY-STEP INSTRUCTIONS
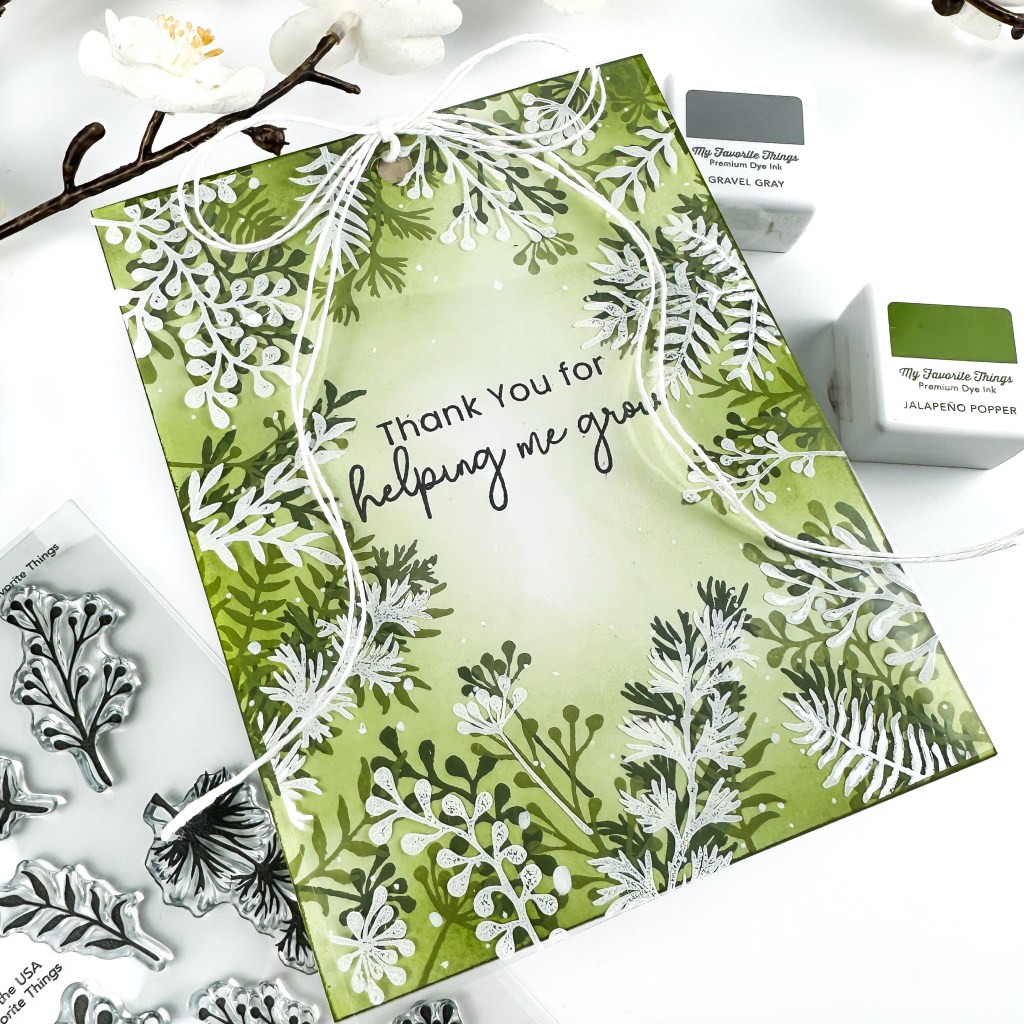
- On a A2 sized panel of acetate, arrange several leaf stamps from the Fresh Foliage stamp set around the perimeter of the panel. I used my Brutus Monroe sticky mat to hold the acetate in place.
- Stamp with white stazon ink. It is a mixed media type of ink that adheres to non-porous surfaces like plastic and glass. It takes some time to dry completely so be sure to set the panel aside for at least 30 minutes. If the ink does smear, you can clean it up with isopropyl alcohol on a cotton swab. The stamping isn’t perfect, but I’m ok with a slightly distressed look.
- I actually had to stamp two acetate panels. The first time I tried this, I tried to double stamp and the pad moved in my Misti so I messed up the stamping. While I was trying to see if I could make it work and add alittle white paint pen to areas I missed, the stazon dried on my stamps. It was a disaster. This ink does not come off with water like other inks. I think there is a special stamp cleaner, but I do not have it. I had to resort to spraying my stamps with isopropyl alcohol and SCRUB. It took a long time, but the stazon did eventually come off of my stamps. The scrubber that I have come to really love is Picket Fence Studios Stamp Scrubber. Warning: I don’t think alcohol on photopolymer is recommended as it can damage your stamps apparently, but desperate times. Lesson is don’t let the ink dry and buy the correct cleaner for this type of ink.
- Through this process, I also got stazon ink on my sticky mat. I decided to try cleaning with alcohol and scrubbing like I did with my stamps. Do NOT do this. I don’t know if it was the scrubbing or the alcohol, but now I have bald, non sticky spots on my mat. I think I can still use it, but it is less effective of course with bald spots.
- To make sure my stamps still worked properly after scrubbing them for so long, I used various MFT inks in green and gray to stamp the leaves on a panel of white cardstock. Layering a brighter green over gray gives a different tone to the color, which was nice. Since MFT inks are dye based, they are transparent so they can layer.
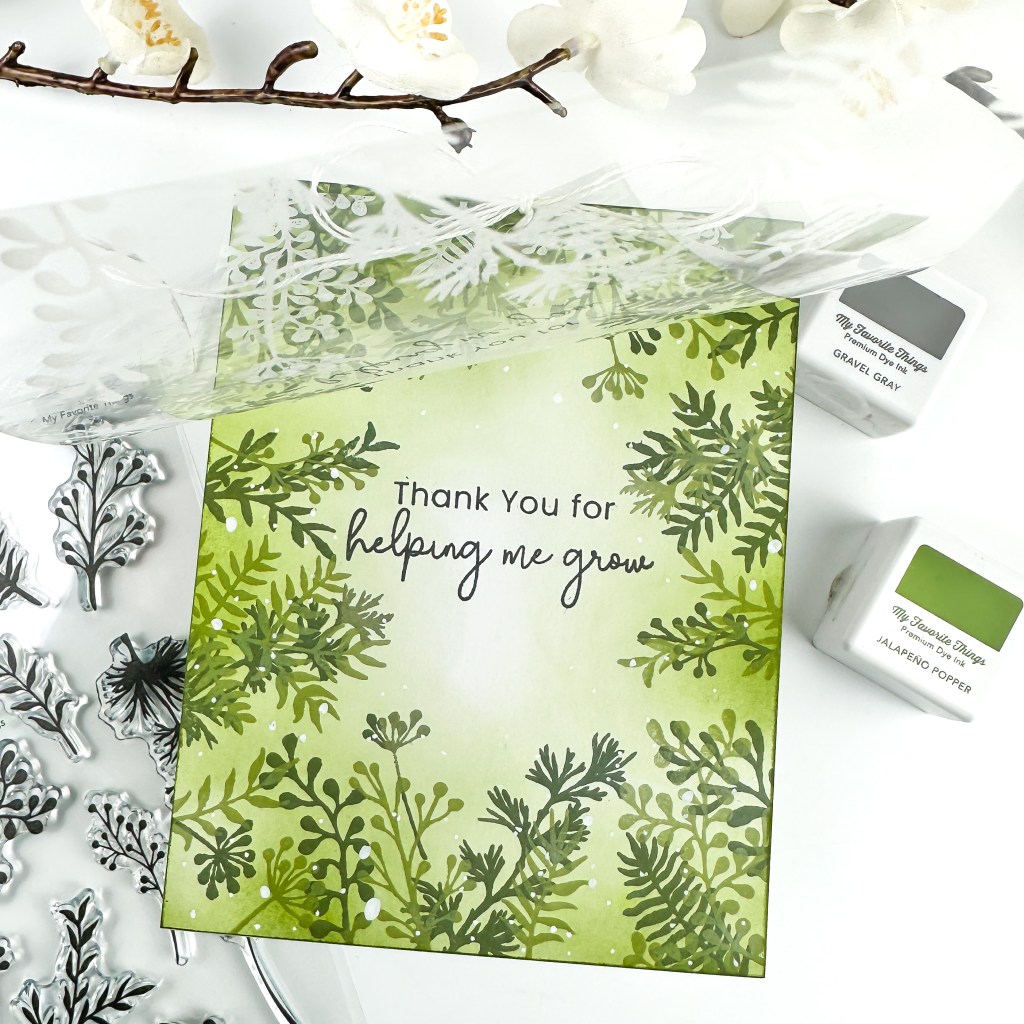
- After stamping, ink blend Jalapeño Pepper on the panel and swipe the edges with the ink pad. And add faux splatter with a white paint pen.
- Stamp a sentiment from Word Bouquet in the middle of the panel with Extreme black ink.
- Using a small circle die, die cut a circle in both the acetate layer and the cardstock layer. I used a small circle from Blueprints 9 Die-namics. Tie the layers together with white twine.
- Adhere to a kraft card base.

Would you try this technique? Thanks for reading and hope you learned from my mistakes! 🙂
For more inspiration, tutorials, and a closer look at MFT products, please stop by and subscribe to the MFT YouTube channel!
Happy crafting,
Tiffany
I’d love to connect with you! Please follow me on IG and my blog, and reach out and say hi!
@ink.therapy.designs

WOW, you are on a roll! This card is beautiful I think you are over your creative slump!
LikeLiked by 1 person
Awww I really appreciate your kind words! Hope I’m inspiring you to get a little crafty this weekend 🙂 Happy Easter!
LikeLike