
(*Affiliate links used whenever possible at no extra cost to you.)
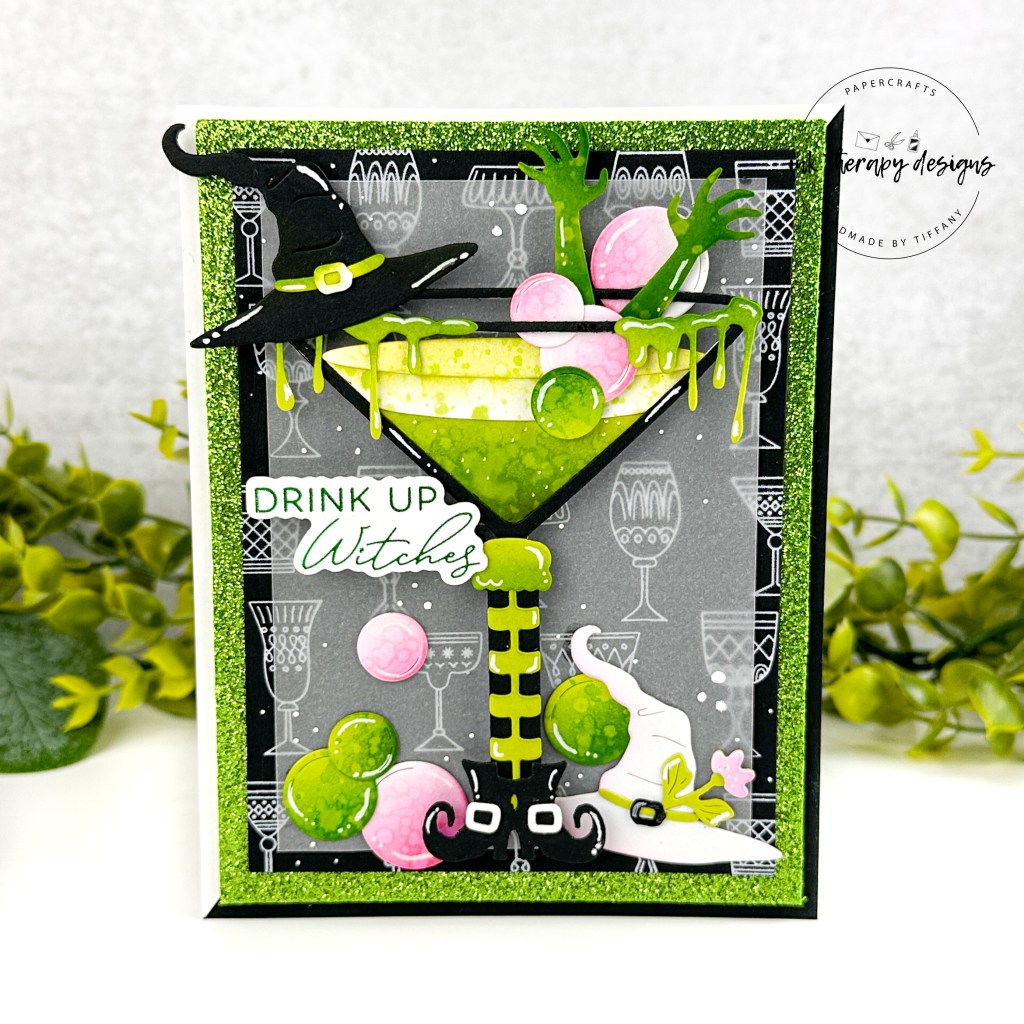
I love, love, love Wicked the musical and I love, love Halloween! So when I saw the new Spellbinders Happy Hour Collection, I had to have these products to create a card inspired by the musical. I had a BLAST listening to the soundtrack while I created this fun, whimsical card. This was very easy to put together; it just took a little time to compose all the pieces. Here is a list of the main products I used:
Olive Martinis Dies
Boos! Cocktails Dies
Cheers Sentiments Press Plate and Die Set
Layered Classy Glasses Press Plate and Stencil Bundle
STEP-BY-STEP INSTRUCTIONS
- Cut a panel of white and black cardstock in half along the diagonal. Adhere half of each color on an A2 card base. I wanted to play with the duality of black and white throughout the card.
- Using the A2 Matting Basics die, die cut a panel of lime green pop-up foam from the Shimmering Tropics pack. Adhere to the card base with liquid glue. I think the glittery green gives you that city of Oz feel.
- Using the Layered Classy Glasses Press Plate, glimmer hot foil the plate on black cardstock using opaque white foil. You could also try white pigment ink instead of the foil. Trim the panel down as desired and adhere to the card front. I wanted a nice border of the sparkly green.
- Die cut all the pieces needed for the martini glass and accessories from black, white, and green cardstock. I used MFT Limelight cardstock, but you could use Peridot from Spellbinders too.
- I added additional shading and texture with ink blending with a water reactive ink. For the greens, I used Catherine Pooler’s Lime Rickey and Grass Skirt inks. For the pink, I used Catherine Pooler’s Cotton Candy and Party Dress. After adding the light inking, like on the bubbles or “liquid” inside the glass, I splattered with water for additional texture. I also added white gel pen detail around the die cut elements.
- Adhere everything together with foam tape and/or liquid glue on top a panel of vellum.
- Add glue to strategic places on the vellum to adhere it down to the card front.
- Using green glimmer foil, foil the Cheers Sentiments Press Plate on white cardstock. Use the coordinating die to cut all the sentiments out. You will have plenty to play with on future cards. Adhere with foam tape.
- Finally, I added faux splatter around the card with a white posca pen. Or you could use a white gel pen.

I hope this inspires you to make your own version of this card or CASE this one! If you do create something inspired by this, please tag me on Instagram. I love seeing what you create 🙂
Happy crafting,
Tiffany
I’d love to connect with you! Please follow me on IG and my blog, and reach out and say hi!
@ink.therapy.designs
*Affiliate disclosure: I only use, review, and blog about products/companies I actually like and will continue to use. Some of the products shown on my blog use affiliate links. These affiliate links allow me to earn a small commission when products are purchased through those links. *This is at no cost to you!* Please do not feel obligated to use my affiliate links. If you choose to use these links, thank you so much! It helps support my blog and bring new content to you. Read the full disclosure on the about page.

You did such a great job!
LikeLiked by 1 person
Thanks so much for your kind words! I had a great time making it 🙂
LikeLike