
Project overview
- Technique(s): watercoloring, die cutting, floral arrangement
- Product list:

My mom loves yellow roses so I wanted to give her a birthday bouquet made of paper, of course! Before making this card, I had not used Altenew’s Garden Picks 3D die set, so this was the perfect occasion. The card turned out great and my mom loved it! #winning
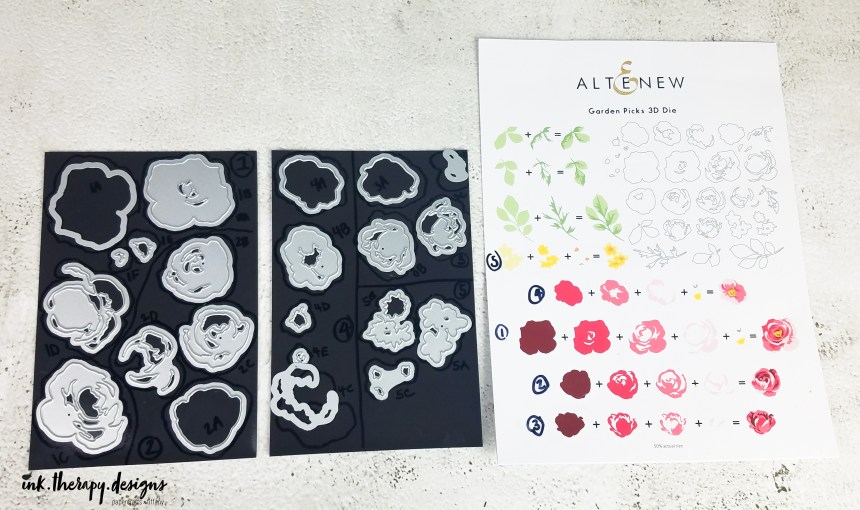
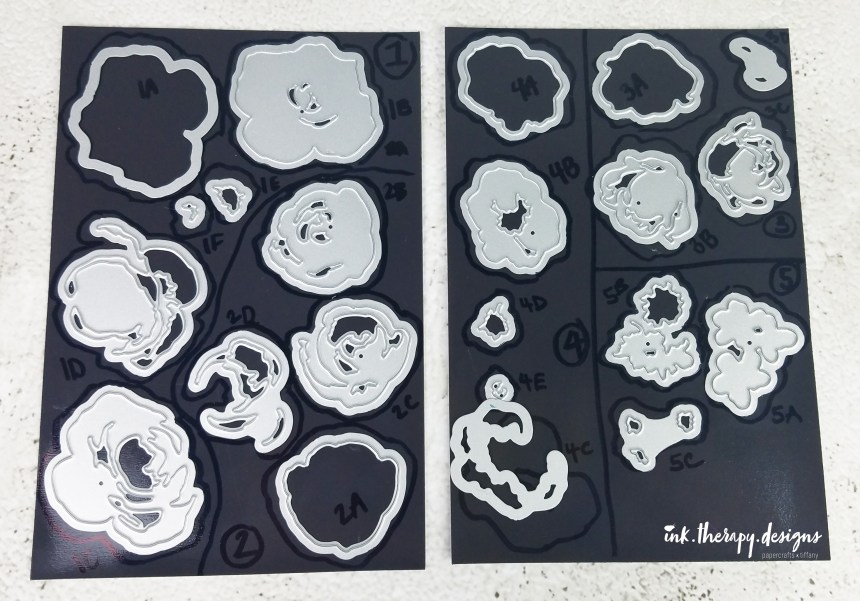
Before I jump into how I made the card, let’s talk about organization. This die set has 4 layering flowers and 3 layering leaves. Each flower has 3-4 layers and additional layers for the flower center. Each leaf has 2 layers. With over 20 different dies, it’s easy to get overwhelmed. So before anything else, I recommend grouping the flower layers together. I would focus on the flowers because with only 2 leaf layers that are distinct enough in shape, you’ll have no problem matching the leaves. Since the flower layers did not come pre-labeled (this would be a great product improvement Altenew!), use the images on the packaging to figure out which pieces go together.
Using technique that I learned from Jennifer McGuire, I labeled and traced each flower and its layers on a magnetic sheet with a sharpie. It’s a little messy and imperfect, but it works for me. Each flower was assigned a number and its corresponding layers were assigned letters. This may seem extra, but I think this will save so much time when I use this set in the future.
Now that you are organized, let’s get into how I made the card (the best part #amirite?!). Here’s a look at the main supplies I used (edit – I forgot to include the Memory Box Pinpoint Burst Die in the picture, so sorry!)
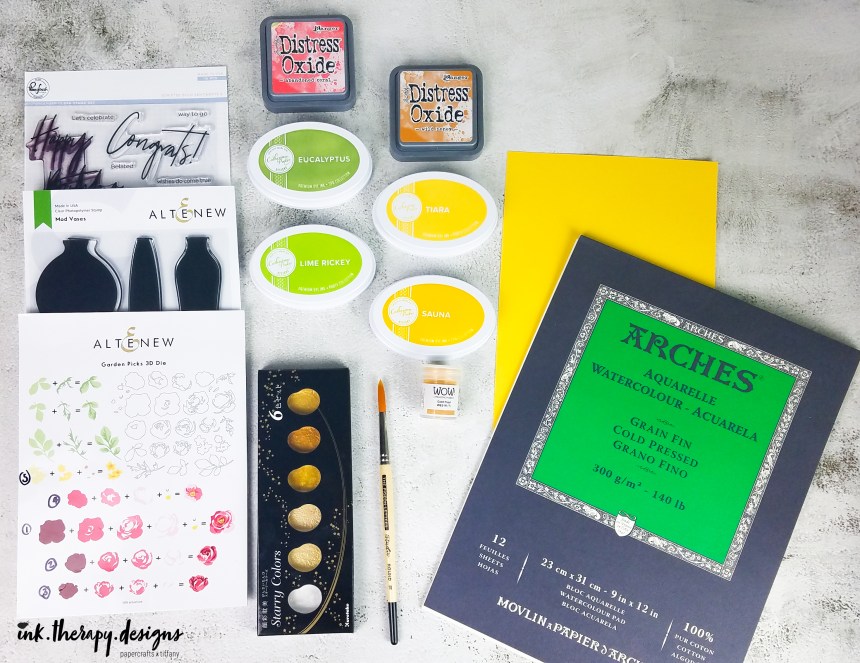
I could have cut the flower layers from color cardstock, but I was in the mood to watercolor. Going flower by flower, I cut each layer out of Arches watercolor paper and colored with a variety of Catherine Pooler and Distress Oxide inks. It was my first time using CP inks and I adore them! They are going on my list of favorite crafting supplies (which I am still compiling in my head).
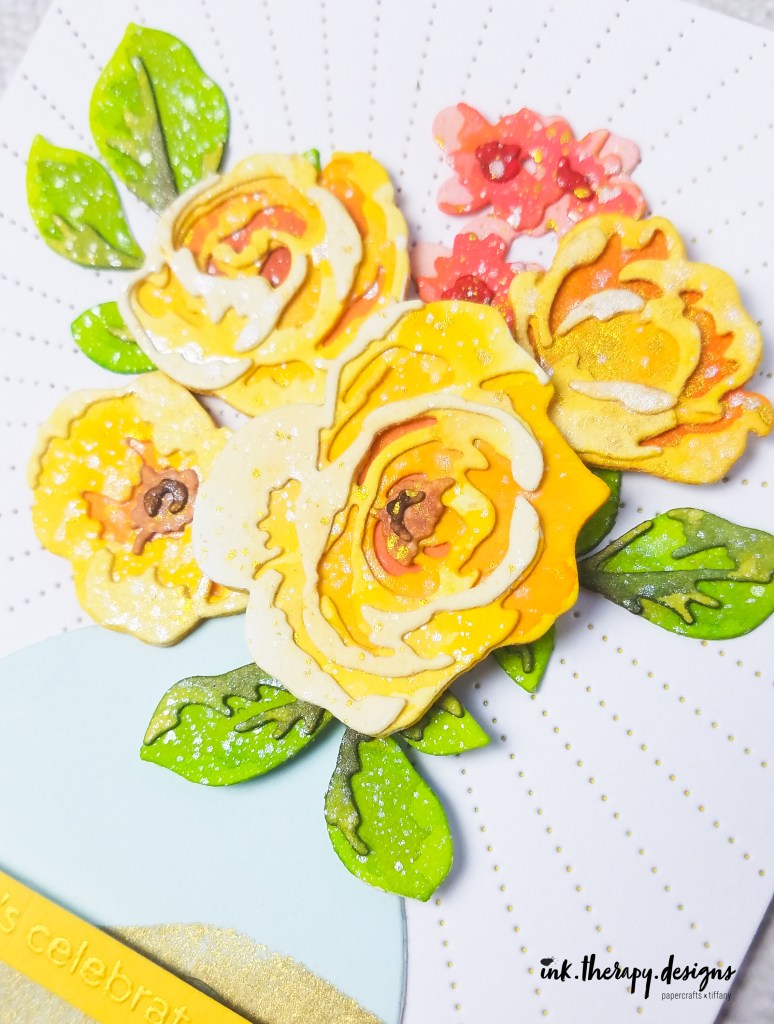
This kind of watercoloring is my favorite because it’s all about letting the paint do the work. The beauty of watercolor is you can build layers on a dry piece to intensify and diversify the color. Before moving on to the next flower/leaf, I assembled each without glue to check color saturation and contrast between layers. Once I was happy with the result, I splattered white and gold paint for some shine and interest (No. 903 and No. 906 from the Kuretake Starry Colors palette). So dang pretty.
The layers are easy to line up once you’re ready to assemble. You can adhere the layers together in many ways, but I just used liquid glue and tweezers. Liquid glue gave me some wiggle room in case I wanted to reposition a layer.
While my flowers were drying under acrylic blocks, I worked on the rest of the card, and I kept it pretty simple. I made an A2 card base from matching yellow cardstock. Using WOW! embossing powder in Gold Pearl, I heat embossed a sentiment from Pinkfresh Studio Scripted Bold Sentiments 2. From the Altenew Mod Vases stamp and die set, I die cut the vase three times for dimension and stamped the layering stamp in Altenew Antique Gold pigment ink. For the background, I used 110lb Neenah Solar White cardstock and the Memory Box Pinpoint Burst Die gave just the right amount of pop and helped focus my main element – the flowers!
I fiddled with the floral arrangement for awhile before landing on the final design. I used a single layer of foam tape on one flower and one leaf, a double layer on the main flower, and glued the rest directly to the card panel. No tips on floral arranging yet – I’m still working on it. But my go-to for help is Jaycee Gaspar. I’m taking his Altenew class right now. Check out his YouTube channel and IG!
If you liked this card or have feedback on the blog, please let me know on IG! If you’re inspired by my piece, please tag me so I can see what you create. Thanks so much for stopping by! Happy crafting!
.Tiffany.


