
Project Overview
- Technique(s): die cutting, heat embossing
- Product list:
Happy Tuesday, friends! I’m back with another holiday card idea. It’s my favorite time of year so the inspiration is flowing! I think having a focus or theme like a particular holiday helps me create. In the middle of doing this project, I actually started two other other ideas that popped into my head. I’m all over the place, ha! I wonder what I will do after the holidays?! For now, let’s dive in…
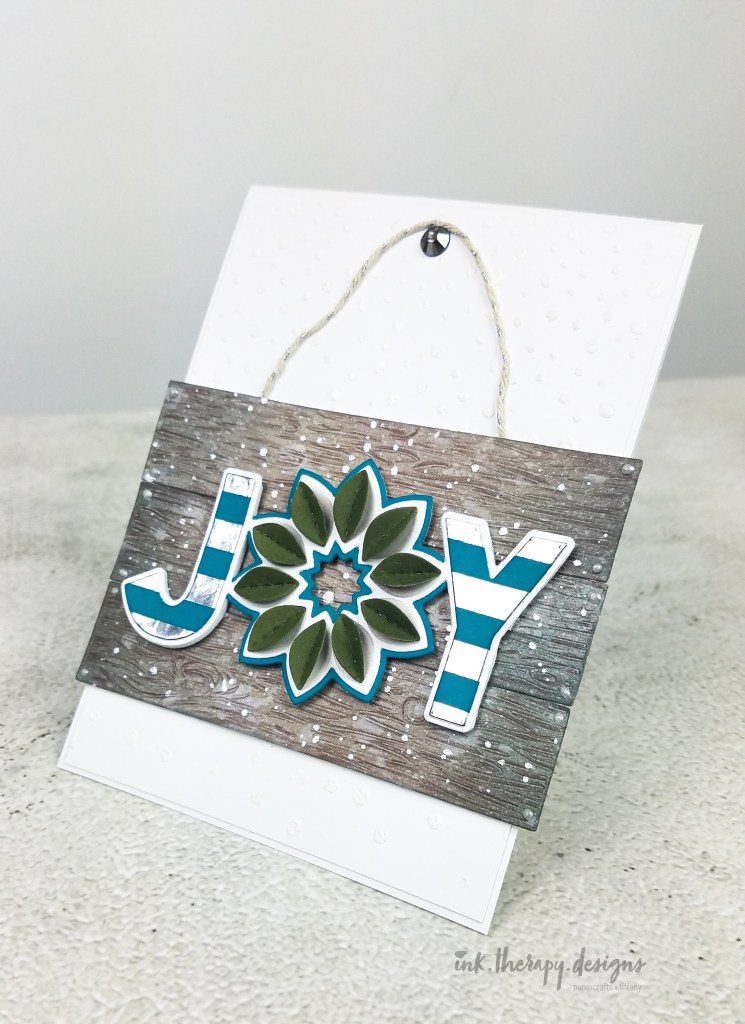
Wreath of joy. What a fun die cut! There are multiple layers to this wreath that you can use in a variety of ways. The base layer was cut from heavyweight white cardstock. For the letters J and Y, I first cut strips of silver foil and teal cardstock. I glued these strips to a scrap piece of paper and then die cut the letters. I also cut the base wreath layer from teal cardstock. I glued all the pieces together with liquid glue for the little wiggle room liquid glue allows for. For the leaves, I cut white leaves and green leaves. For the white leaves, I ink blended gray dye ink at the base. For the green leaves, I ink blended olive dye ink at the base. I used my go-to Catherine Pooler inks. This just added some depth to the otherwise flat die cuts. I glued the green leaves on top of the white leaves, folding the green leaves for a 3d effect.
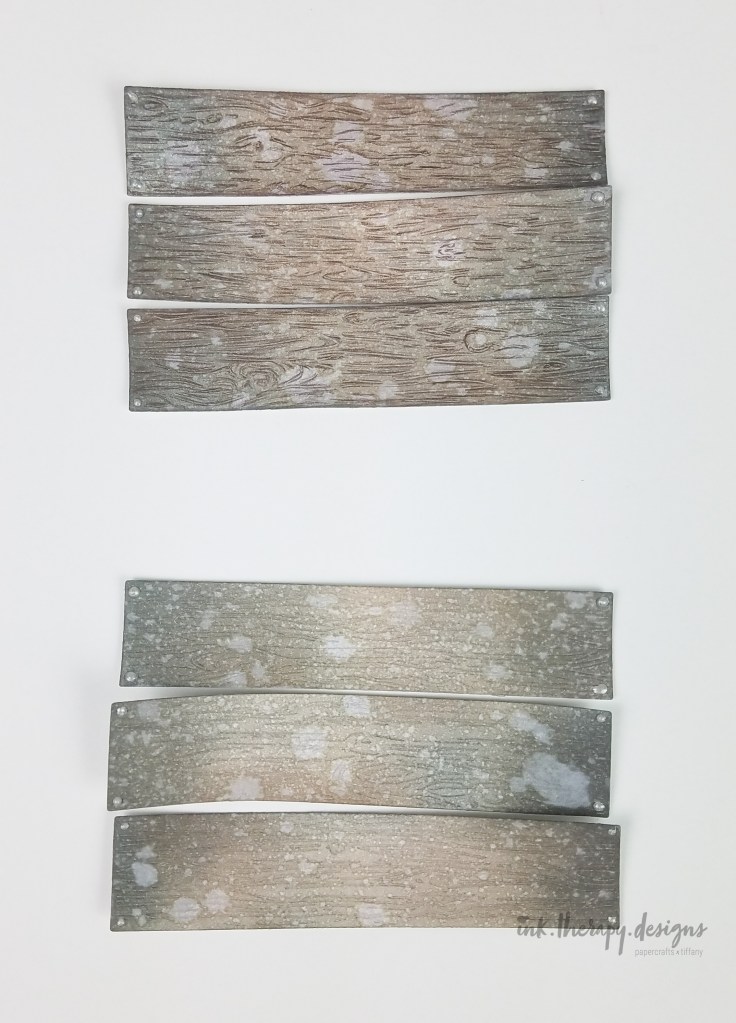
Wood planks. I love these barn wood planks; they create a lovely, realistic texture. I die cut the planks from white cardstock and blended three dye inks over the cuts – light gray, dark gray, and light brown. To deepen the wood texture and knots, I traced over the lines with my Polychromos colored pencils in Cold Gray IV and Walnut Brown. Although this extra detail adds steps to your project, it adds so much beauty. See the comparison below. On all four corners of each plank, I added silver nuvo drops to mimic nails. Lastly, it wouldn’t be a Tiffany creation without splatters, so I splattered water and silver ink for the final touch.
Background. While my planks dried, I worked on the rest of the card. The background panel was pretty simple. I wanted to add another layer of texture, so I heat embossed the snowfall background stamp using gina k’s puffy white embossing powder. I thought it looked like fluffy snow and added a playfulness to the design.

Final assembly. I adhered my snowflake background onto an A2 card base. I backed the planks and the joy wreath in foam tape and glued everything together. Before gluing the top plank down, I added a piece of twine to mimic a rustic sign. For the “nail”, I used a dark gray jewel from my stash. Another card complete!


I hope you liked my rustic, but clean holiday card! I love the contrast of the barn wood and the shiny silver metallic. If you’re inspired by my design, please tag me on IG, I’d love to see what you create. Thanks for stopping by and happy crafting!
.Tiffany.
