

(Repost from the Poppystamps blog. Affiliate links used whenever possible.*)
Another technique I picked up from Onlinecardclasses.com was how to make a checkerboard background from cardstock (taught by Kristina Werner). I shared a card recently on IG using the same technique and the same cardstock. But for this card I used the checkerboard as the full background. This card is a little different from what I usually make because I normally die cut or stamp and color an image, but this focuses on the sentiment and background. What a fun and simple way to stretch your supplies and creativity! You could do this technique with different colors and create a great masculine card – the possibilities are only limited to your imagination. It is way easier than it looks, so let’s get to it!
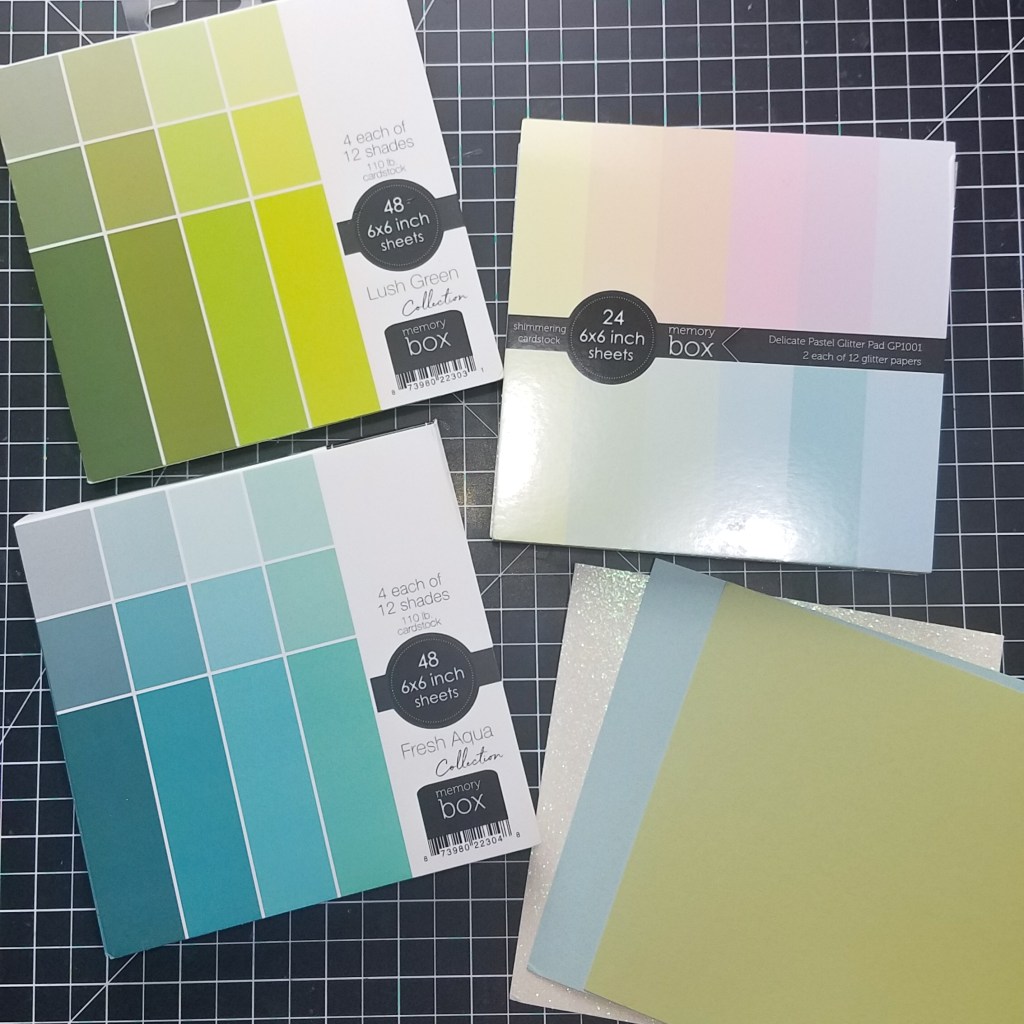
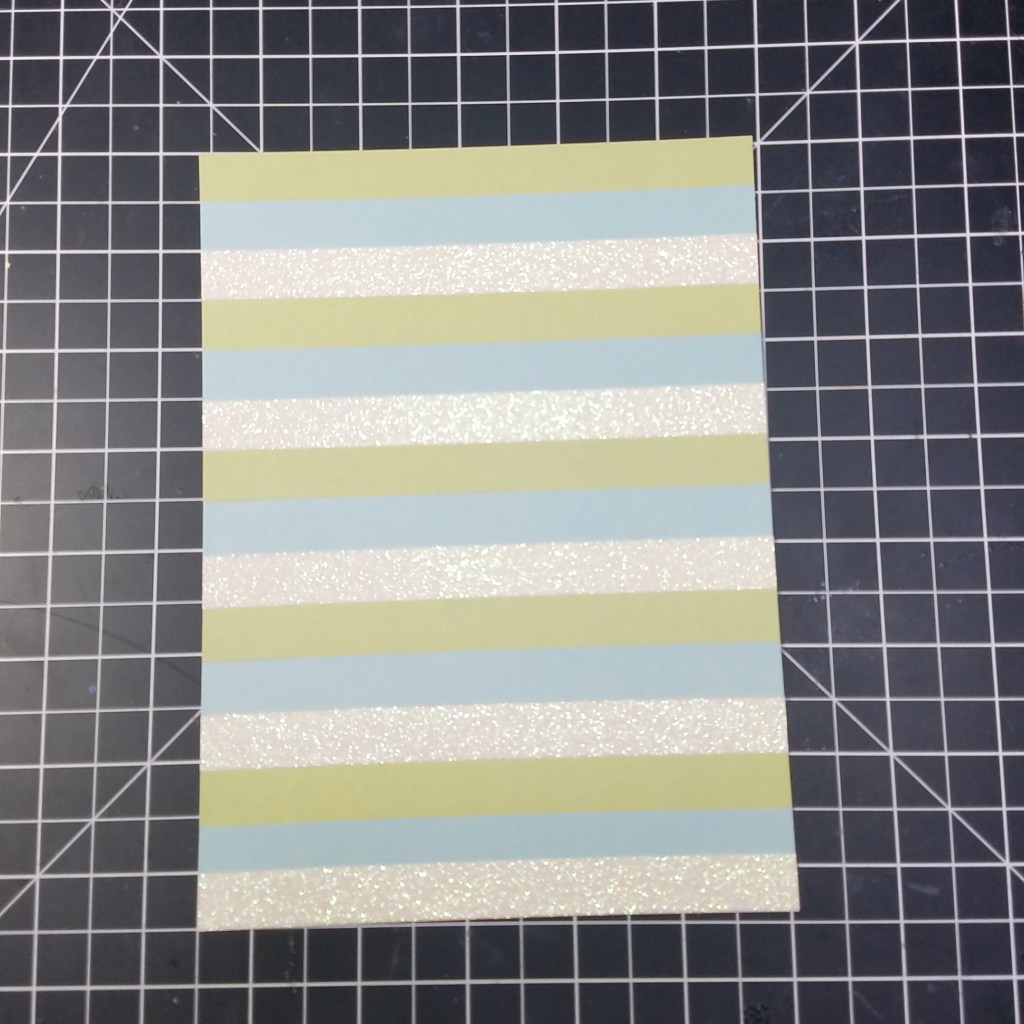
To start, I choose 3 colors of cardstock- blue, green and glitter. I cut each piece of cardstock into half inch strips using my paper trimmer. I then glued these strips to a piece of copy paper using my tape runner. I trimmed any excess hanging over the edges.

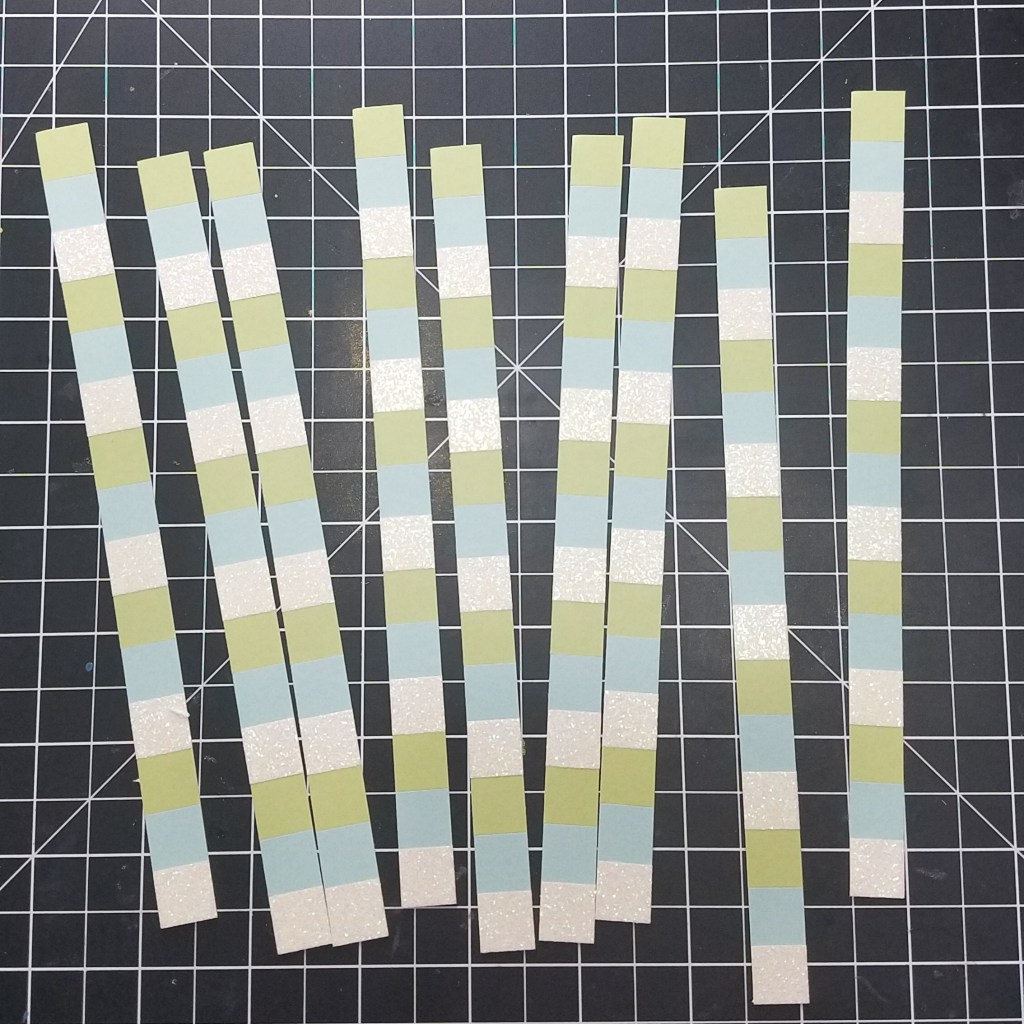
Next, with the stripes laying horizontally, I cut my striped panel into half inch strips. This will leave you with strips made of tiny squares of each color of your cardstock.

Next, I glued the strips together being mindful to offset colors to get that checkered pattern. In hindsight, I should have flipped every other strip around so to avoid the solid blue stripes in the final card background. But I’m still happy with the result. I trimmed the checkered panel down to about 3.5 x 4.5. I matted it with some cream cardstock.

To create the custom sentiment, I die cut the letters from the Marzipan Alphabet die set. I die cut each letter 3 times for dimension. Next, I stamped and clear heat embossed the sub sentiment from the Whittle Everyday stamp set. I created my own banners by cutting small notches at the end of each sentiment strip. I adhered both the letters and the sentiment strip with foam tape. In a clean and simple design like this, I think the added dimension adds some polish to the finished card. I wish I could capture that pretty glittery cardstock here, but trust me, the sparkle is gorgeous!

Hope you liked the card and enjoyed the step-by-step walkthrough. Until next time, happy crafting!
*Affiliate disclosure: I only use, review, and blog about products/companies I actually like and will continue to use. Some of the products shown on my blog use affiliate links. These affiliate links allow me to earn a small commission when products are purchased through those links. *This is at no cost to you!* Please do not feel obligated to use my affiliate links. If you choose to use these links, thank you so much! It helps support my blog and bring new content to you. Read the full disclosure on the about page.
