
(*Affiliate links used whenever possible at no extra cost to you.)
Hi everyone! I’m here with a reminder of this month’s challenge over at the Poppystamps blog. It’s a new year, so it is a perfect time to start on your birthday card stash. Our theme this month challenges you to do just that! Pull out your supplies and create a birthday related project. All types of projects are welcome, but please make sure to include at least one Poppystamps product. Read more details about this month’s challenge on the blog.
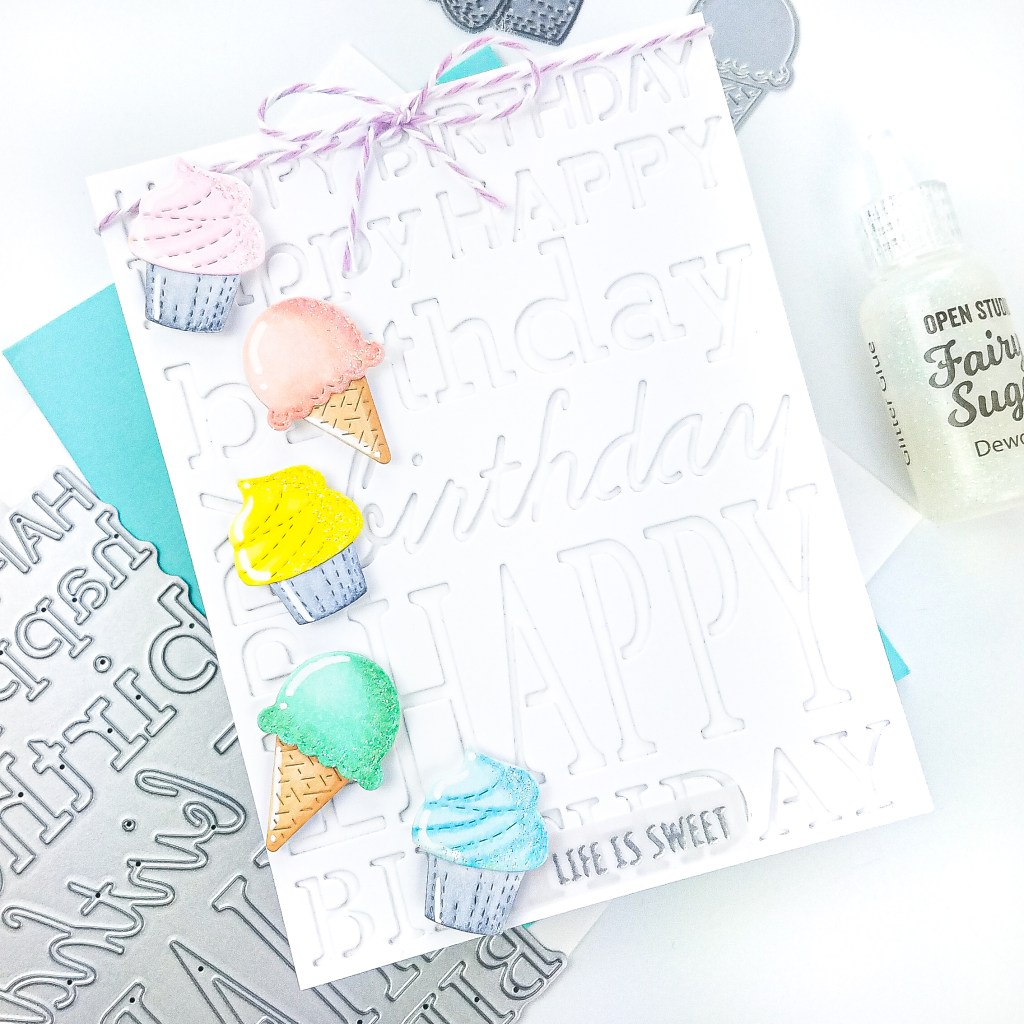
For inspiration, I’m pulling out an oldie, but goodie – the Happy Birthday Background die. It was released many years ago, but it is still available in the shop. I think it makes the perfect clean and simple birthday card that you can decorate or style in many ways. I started by die cutting the background die twice from white cardstock. I stacked the two panels together and adhered with spray adhesive. I recommend reinforcing some intricate areas like inside the letters with a little liquid glue to ensure the panels are glued together well.
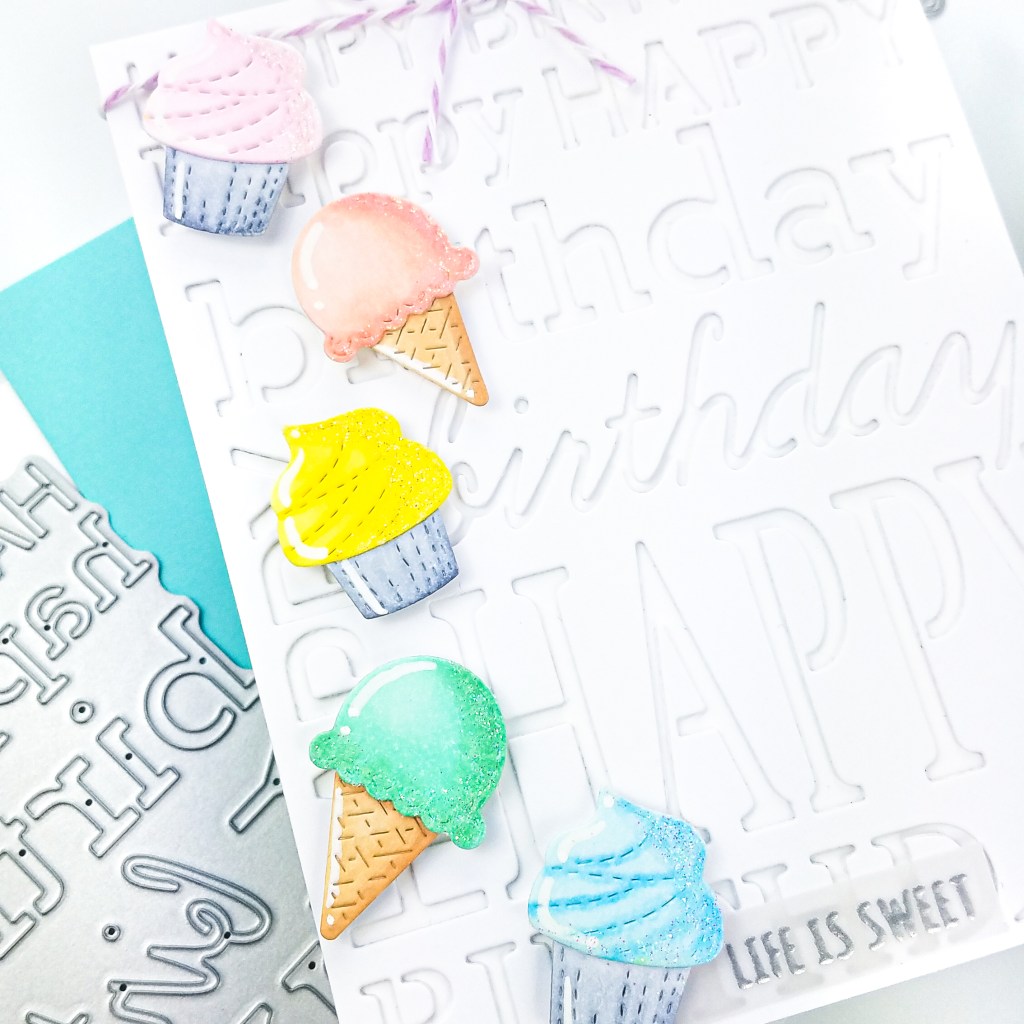
Next, I die cut several Whittle Cupcakes and Whittle Ice Cream Cones from white cardstock. I colored each die cut with various pastel colors of copic markers. I also added some Fairy Sugar in the color Dewdrop on each die cut for a little sparkle. Pro tip: make sure you are squeezing out some test drops on scratch paper before bringing the drops to your project. My bottle squirted out everywhere, and thankfully it was not near my die cuts! Because it squirted everywhere, I decided to apply the drops with my fingers. I felt like I had more control and could spread a thin, even layer by using my fingers. So a blessing in disguise!
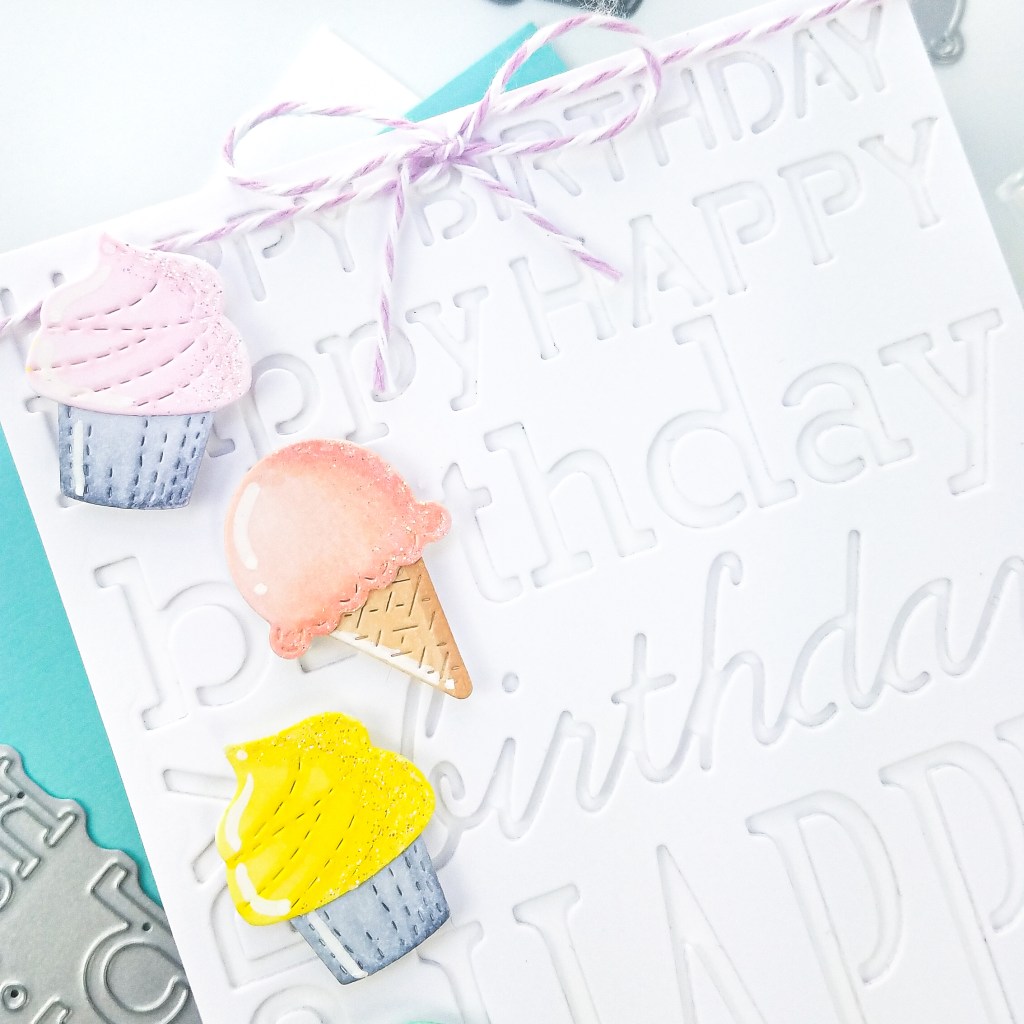
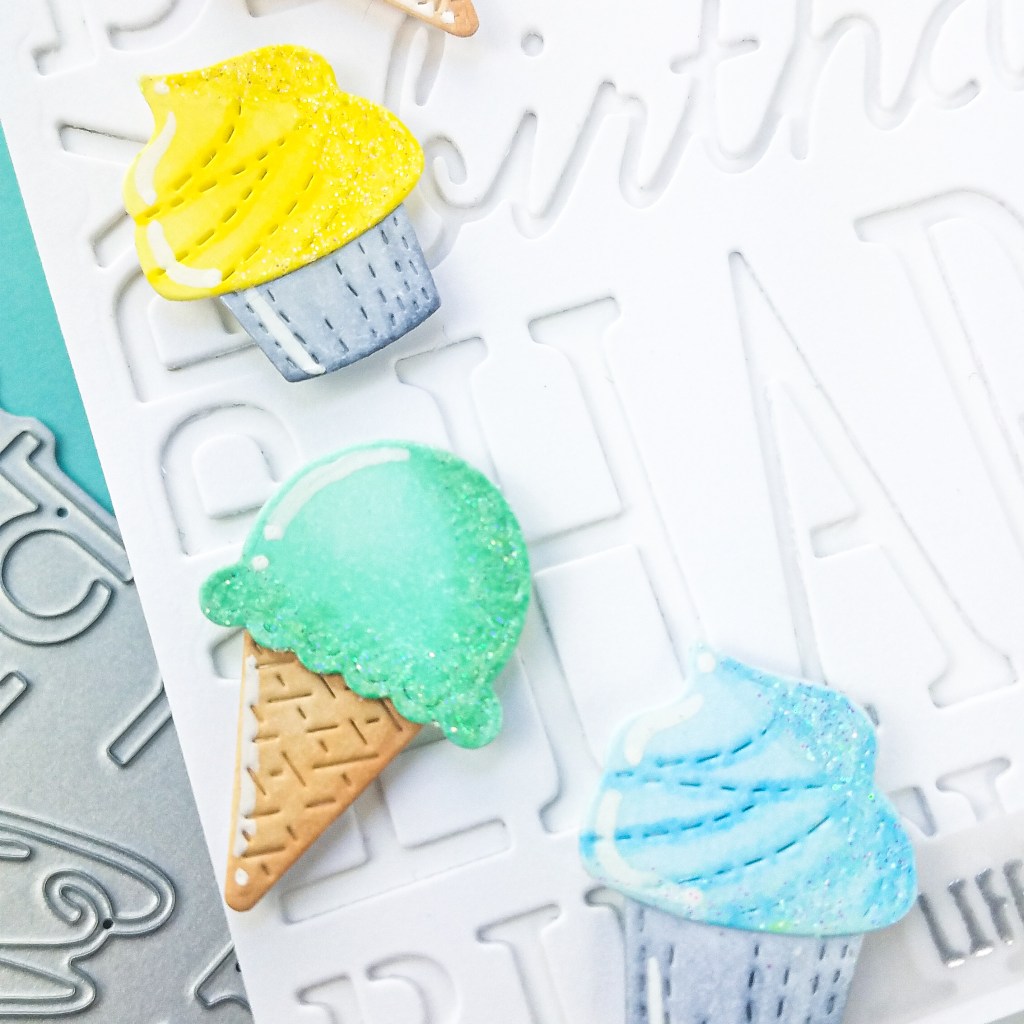
I arranged the die cuts on my panel and popped up each with foam tape for dimension. I had an extra ice cream cone so I pasted it flat inside the card for decoration. On vellum, I stamped and silver heat embossed a small, coordinating sentiment from the Life is Sweet stamp set. I adhered the sentiment strip behind one of the cupcakes and added small drops of liquid glue behind the heat embossing to hide the glue. To finish the card, I added a bow from twine in my stash.

Hope you are inspired to join us in this month’s challenge. Happy crafting!
*Affiliate disclosure: I only use, review, and blog about products/companies I actually like and will continue to use. Some of the products shown on my blog use affiliate links. These affiliate links allow me to earn a small commission when products are purchased through those links. *This is at no cost to you!* Please do not feel obligated to use my affiliate links. If you choose to use these links, thank you so much! It helps support my blog and bring new content to you. Read the full disclosure on the about page.
