
Project Overview
- Technique(s): die cutting, heat embossing, interactive card
- Product list:


It’s release day! The Celebrate Everything card kit is live and ready for purchase! For today’s card, I decided to play with the Perfect Present Dynamics and turn it into an easy card/gift card holder.
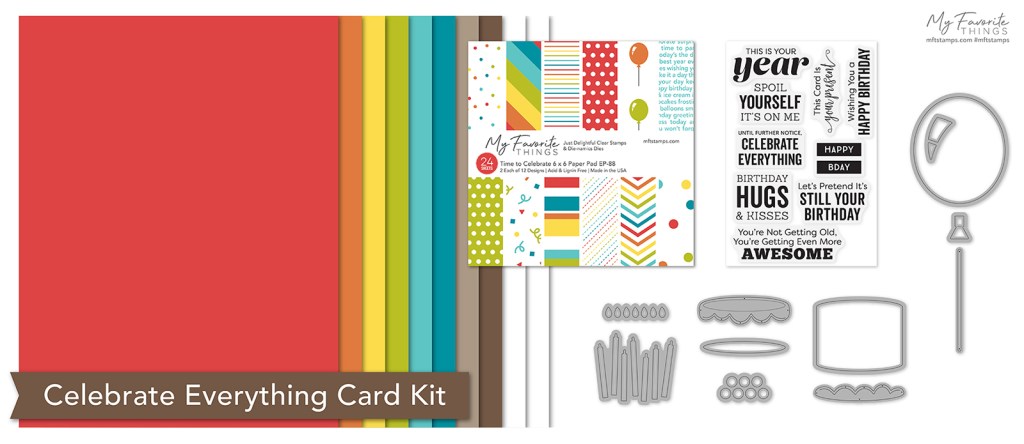
The Celebrate Everything Card Kit includes the following products:
– Balloon Builder Die-namics
– Celebrate Everything stamp set
– Celebrate with Cake Die-namics
– Time to Celebrate Paper Pad
– Card Stock – Smooth White (2), Moroccan Spice (1), Candied Yam (1), Lemon Drop (1), Prickly Pear (1), Caribbean Sea (1), Tropical Teal (1), Kraft (1), Milk Chocolate (1)
The Perfect Present Die-namics is a separate add-on to the card kit. And the freebie with a $60 purchase with this kit is the Itty Bitty Celebrations Stamp Set.

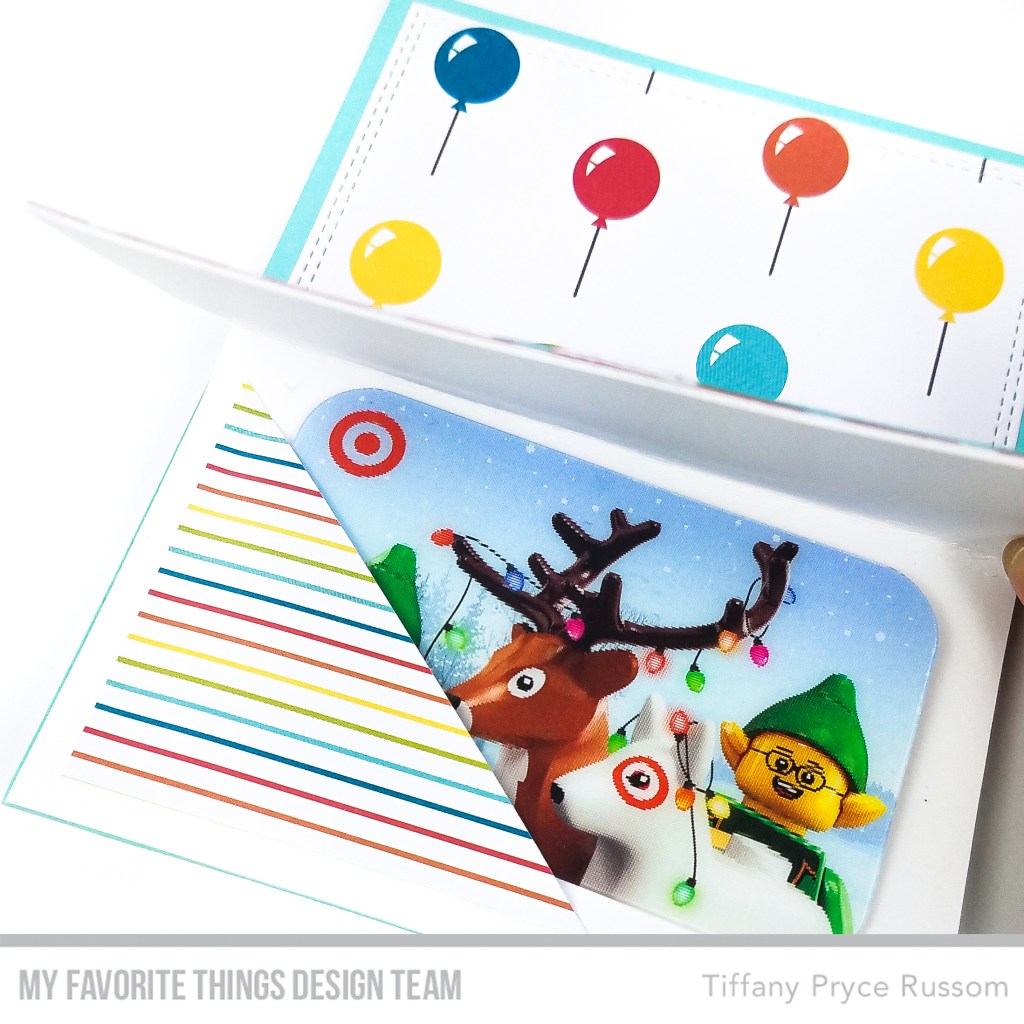
- On an A2 panel of light aqua cardstock, adhere a piece of pattern paper from the Time to Celebrate Paper Pad. The patterned paper was die cut with the largest layer from the A2 Double Stitched Rectangle STAX Die-namics.
- Adhere this background to an A2 card base.
- Die cut all of the pieces of the Perfect Present Die-namics. Die cut the present box and the ribbon from patterned paper and the lid from red cardstock. Adhere the present together with liquid glue.
- Fold and score an A2 panel of white cardstock in the middle to create a mini card behind the present. Adhere to the card front.
- Trim a piece of pattern paper to a triangle for the gift card holder. Adhere the triangle inside the folded card, but only adhere the edges so a card can be slid inside.
- Stamp and white heat emboss a sentiment from Itty Bitty Celebrations.


Hope you liked my card and are inspired to turn your next card into a gift card holder! You could even skip the larger card and just make a mini card/gift card with the present die. For even more ideas and inspiration, please visit the My Favorite Things YouTube channel.
Happy crafting,
Tiffany
I’d love to connect with you! Please follow me on IG and my blog, and reach out and say hi!
@ink.therapy.designs
