
The Coffee Shop Card Kit includes the following products:
Coffee Order Stamp Set
Coffee Shop Stamp Set (Kit Exclusive)
Bistro Basics Die-namics
Be Your Own Barista Die-namics
Make a Sign Die-namics
Floor to Ceiling Paper Pad
Card Stock – Smooth White (1), Kraft (1), Milk Chocolate (1), Cement Gray (1), Gravel Gray (1), Black Licorice (1)
Available Separately:
Window Seat Die-namics
Industrial Finishes Die-namics
Pots and Plants Die-namics
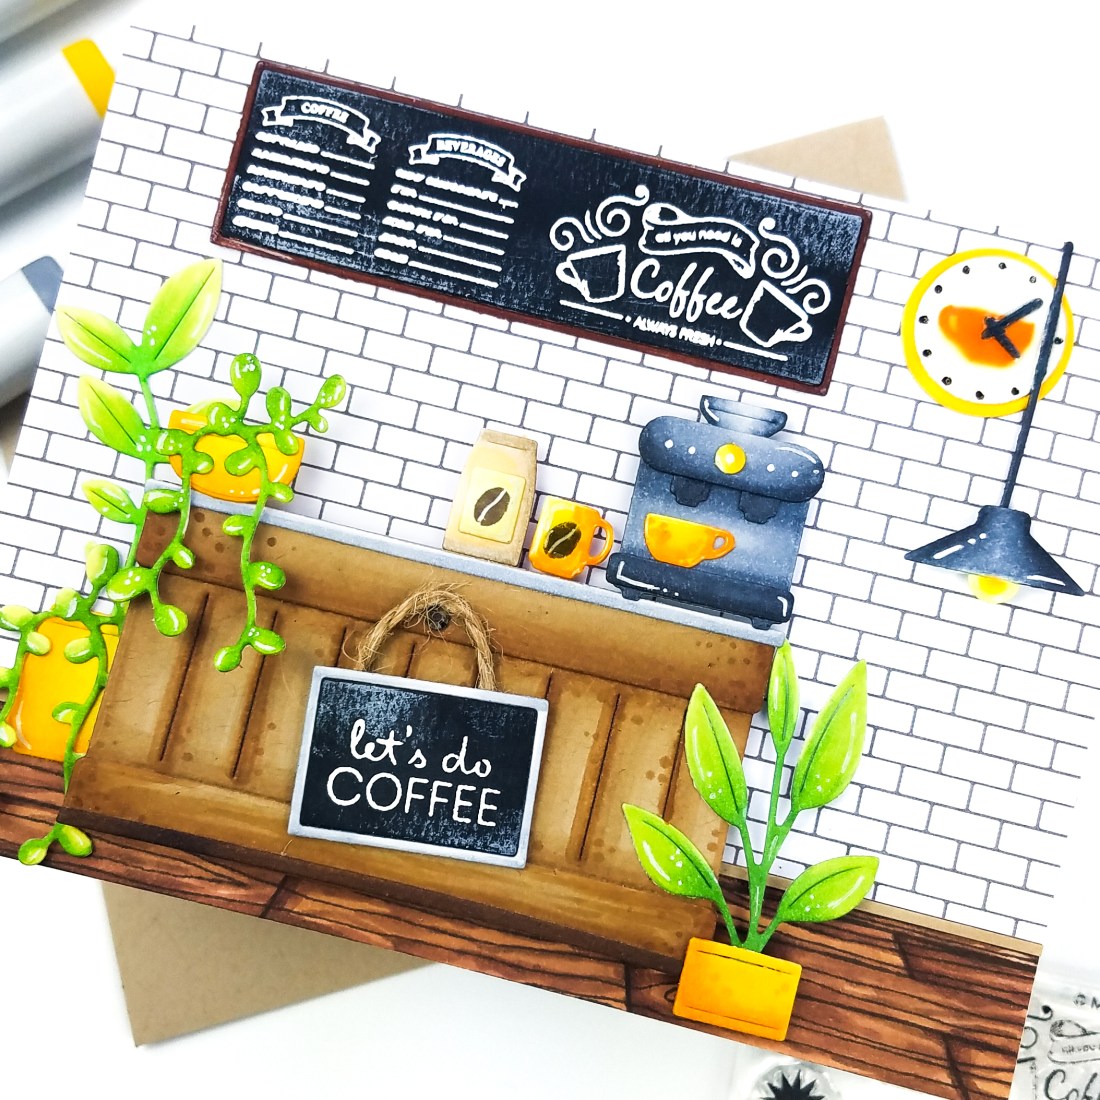
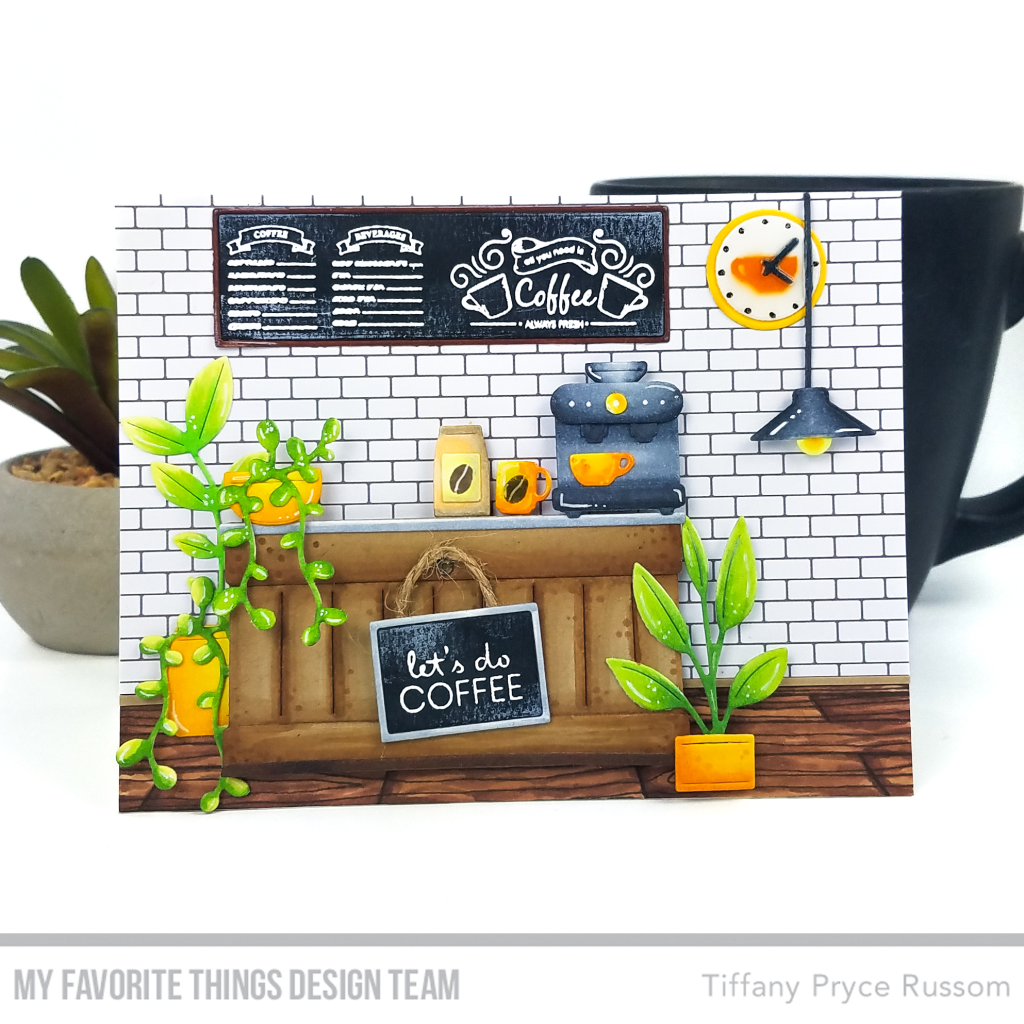
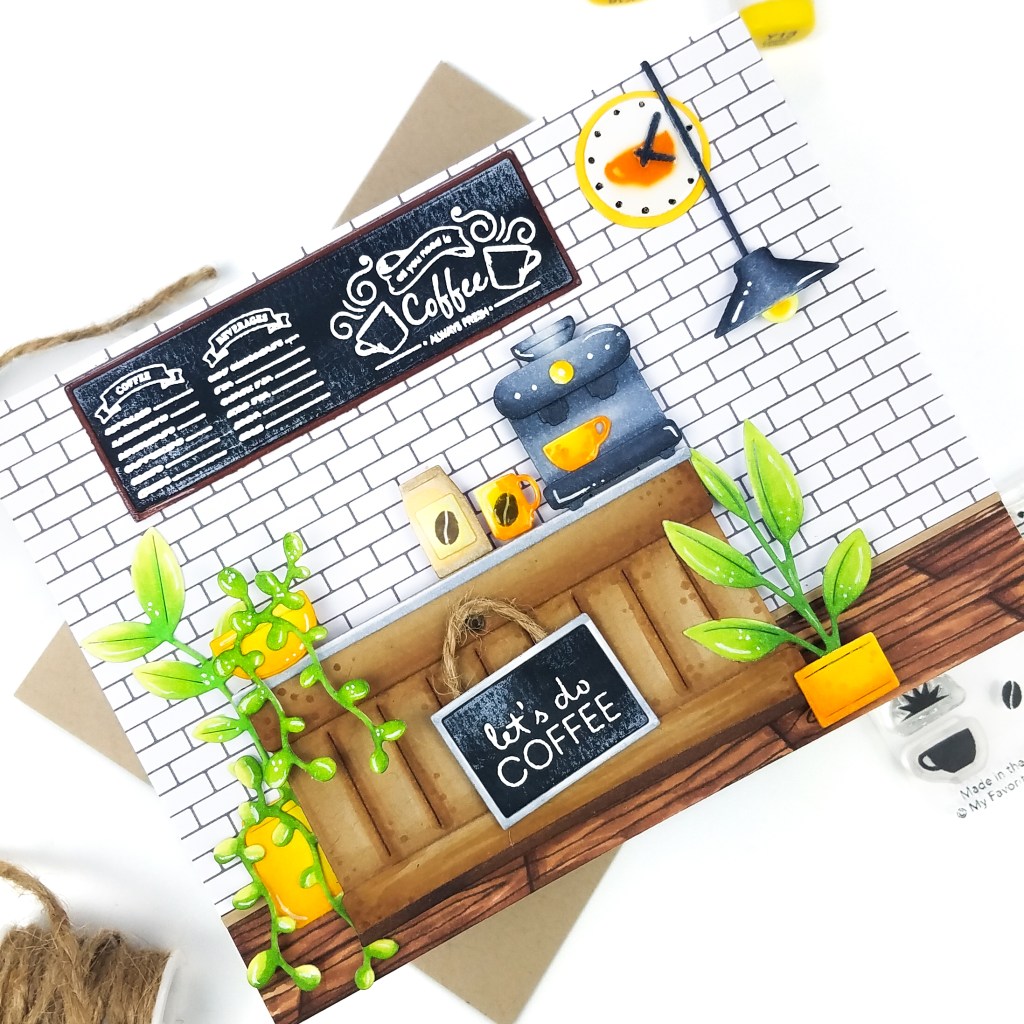
For this sample, I used a bunch of new die sets to create a cute, little coffee shop scene. I love the industrial style mixing metallics and natural elements like wood. This card has a lot of little dies and details, and I love the end result!
STEP-BY-STEP INSTRUCTIONS
- Create the background. On a piece of white cardstock, stamp the floor from the SY On Solid Ground stamp set. Color with a variety of brown copic markers. Adhere to the bottom of a card base. On top, adhere patterned paper from the new Floor to Ceiling Paper Pad. Trim the excess. Between the two patterns, adhere a thin strip of kraft paper.
- Die cut the various pieces of the coffee shop scene from several different die sets.
- The plants are die cut from Pots and Plants and colored with copic markers. Details were added with a white gel pen.
- The coffee menu was created with the Make A Sign Die-namics. I stamped and white heat embossed the text from the kit exclusive Coffee Shop stamp set. Add a little white pigment ink on the edges with your fingertip. This is so the sign mimics a chalkboard.
- The coffee cups, coffee beans bag, and machine are die cut from the Be Your Own Barista Die-namics and copic colored.
- The coffee bar is from Bistro Basics Die-namics and copic colored.
- The clock and hanging lamp is from Industrial Finishes Die-namics.
- Stamp and white heat emboss the sentiment from Coffee Order on black cardstock. Die cut it out and create a “sign” with the rectangle die in Industrial Finishes. Again, I added white pigment ink for the chalkboard look. Add a small piece of baker’s twine and a silver jewel at the top of the sign.
- I added crystal glaze over the clock and coffee mugs. I stamped the clock with a coffee cup, but in dye ink, so I think it reacted a bit with the crystal glaze. I recommend stamping in a different kind of ink so the color doesn’t run like it kind of did for me.

Can’t wait to see what you make with this fun, new kit. As always, check out the MFT YouTube channel for more.
Happy crafting,
Tiffany
I’d love to connect with you! Please follow me on IG and my blog, and reach out and say hi!
@ink.therapy.designs

Absolutely awesome scene. You are an artist.
LikeLiked by 1 person
Oh you are the sweetest, thank you!!!
LikeLike
This scene card is perfect!!!! ☕❤️
LikeLiked by 1 person
Thank you so much!!
LikeLike