

The new MFT card kit, Home for the Holidays, is live in the shop! It includes the following products:
Home for the Holidays Stamp Set
Right at Home Die-namics
Holiday Home Accents Die-namics
Pear Blossom Press One Light (2) Pack
Card Stock – Smooth White (1), Poppin’ Pink (1), Wild Cherry (1), Orange Zest (1), Lemon Drop (1), Sour Apple (1), Field Day (1), Summer Splash (1), Lazy Day (1), Cornflower (1), Kraft (1), Cement Gray (1), Gravel Gray (1), Black Licorice (1)
The Free with $60 releasing with this kit is the Itty Bitty Thanks Stamp Set.
STEP-BY-STEP INSTRUCTIONS
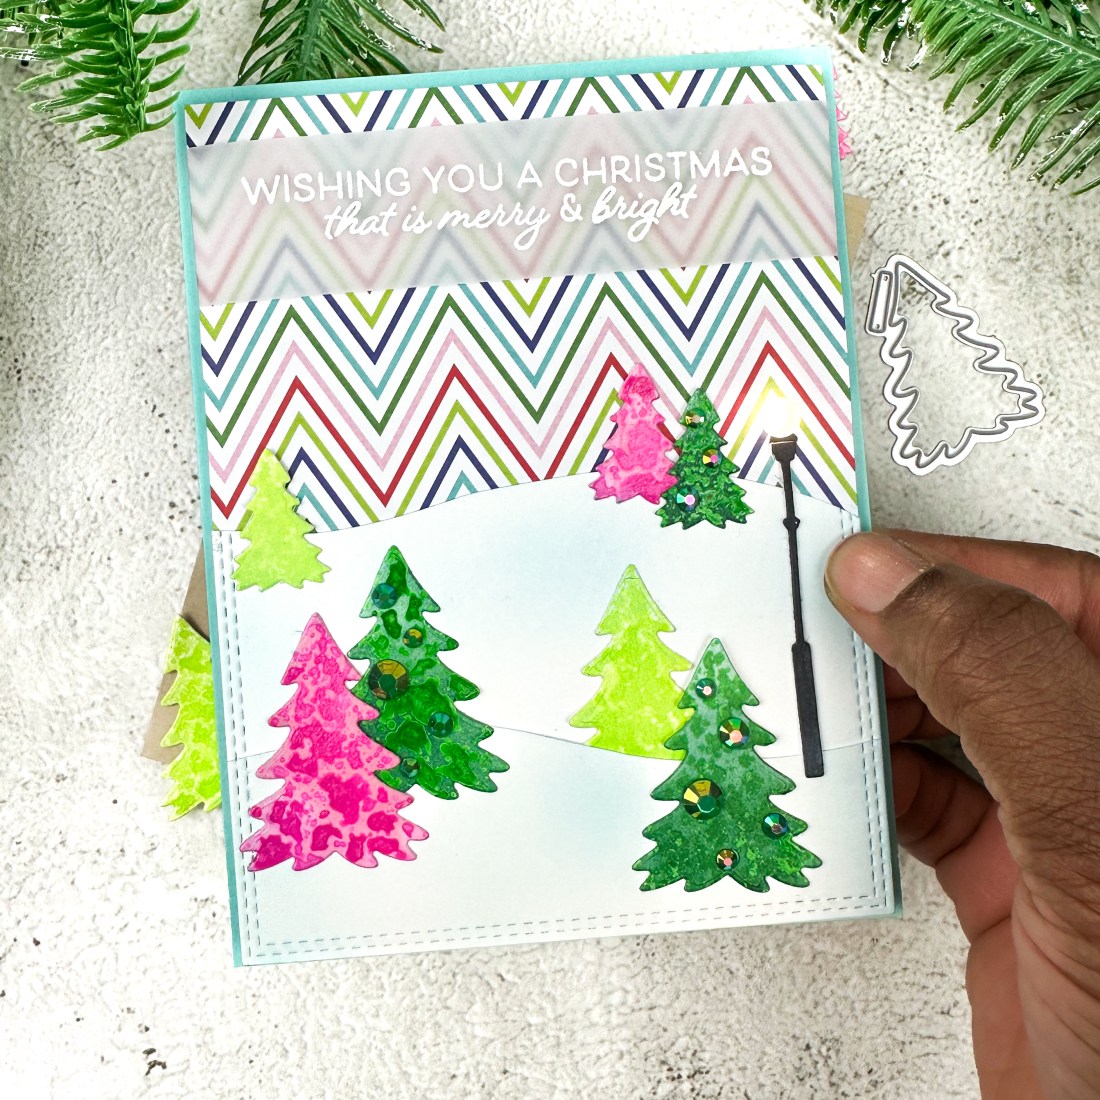
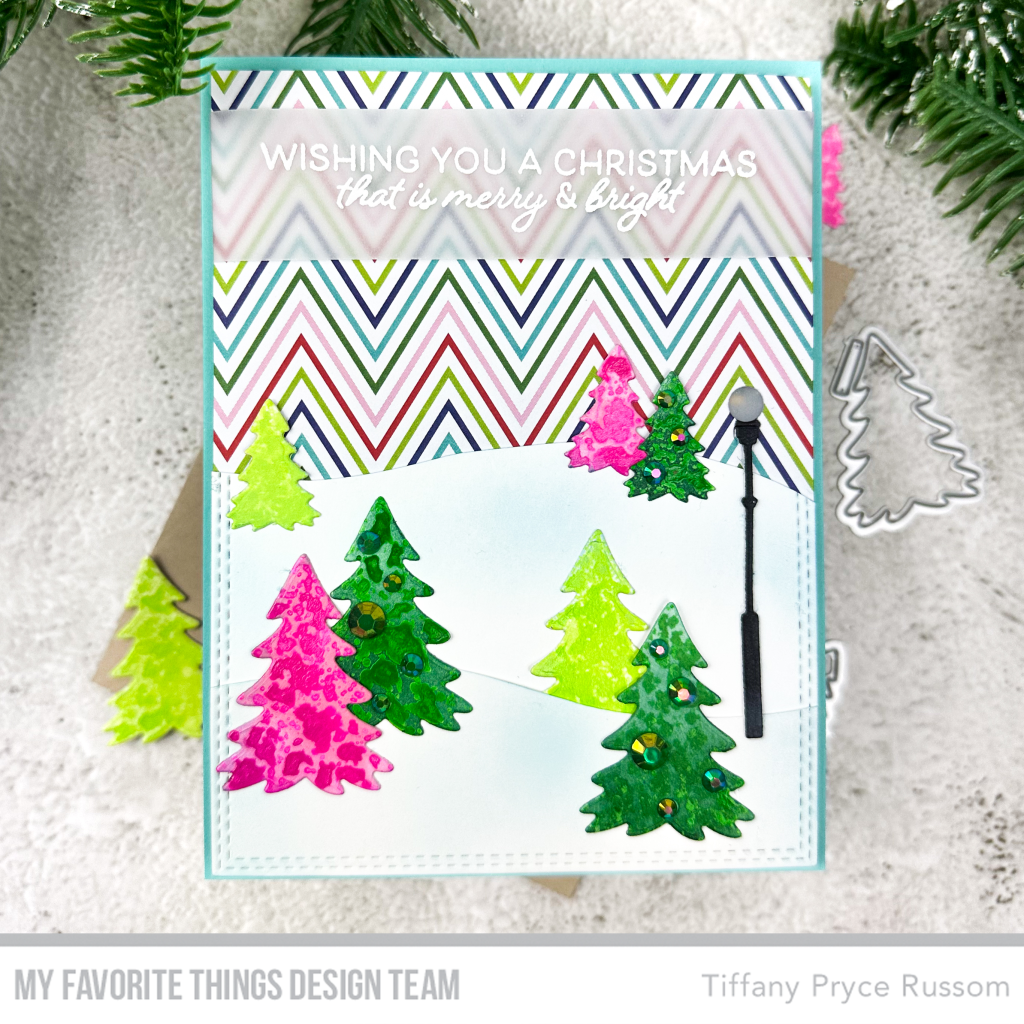
- Trim a panel of patterned paper from the MSTN Colorful Christmas Paper Pad and Summer Splash cardstock and adhere to a white card base.
- Die cut 2 panels of white cardstock with the A2 Double Stitched Rectangle STAX Die-namics.
- With scissors, trim two snowy hills. Lightly ink blend some light blue ink randomly on the hills.
- Position the lamp post from the Right at Home Die-namics and die cut just the top circle of the lamp with the partial die cutting technique. Separately, die cut a couple lamps and color with a C9 copic marker.
- Die cut several trees from the Holiday Home Accents Die-namics.
- Spray several Dina Wakley acrylic gloss sprays on the trees in green and pink. Ink blend the trees with a similar color to cover any white space on the die cuts.
- Arrange the trees and hills and adhere to the background.
- Add green gems to the dark green trees for a little sparkle.
- Stamp and white heat emboss a sentiment from Home for the Holidays on a strip of vellum. Wrap the sentiment around the card front to adhere it in place.
- Behind the light bulb in the lamp, adhere some vellum to soften the EZ light.
- Tape the EZ light in place on the back of the card front. The Pear Blossom logo should be facing you so the light is directly in the window. Add a double layer of foam tape all over the back around the light mechanism.
- Adhere to a card base.


This was my first time using an EZ light and it was so simple!! If you’ve been wanting to try, please do! I used strong, double sided adhesive to tape the light in place on my card. Hope you enjoyed my samples and are inspired to buy the kit. As always, there’s more on the MFT YouTube channel.
Happy crafting,
Tiffany
I’d love to connect with you! Please follow me on IG and my blog, and reach out and say hi!
@ink.therapy.designs

Hi Tiffany, love the card with the light! One of these days I’m going to try out those lights, I just love them.
Sorry I’ve been MIA lately, been dealing with multiple family issues and a really heavy workload. Sadly, crafting has been put on the back burner. Hopefully I can get my Christmas cards made in time to mail out! ~Kim
LikeLiked by 1 person
Thanks so much Kim! I hope everything is ok in your family! Family first. I like to hedge my bets and manage expectations by telling my list they may get their Christmas card late. That way when it is inevitably late, they got a heads up haha. Praying for you! Hope you can take a little time for yourself soon.
LikeLike