It’s release day for the new MFT card kit, Crafty Hands! Please go to the shop and check it out if you are interested. This is perfect if you love scene building and want to create truly unique cards for your crafty friends. Beyond your crafty friends, the add-ons help to stretch this card kit for so many more occasions – so fun!
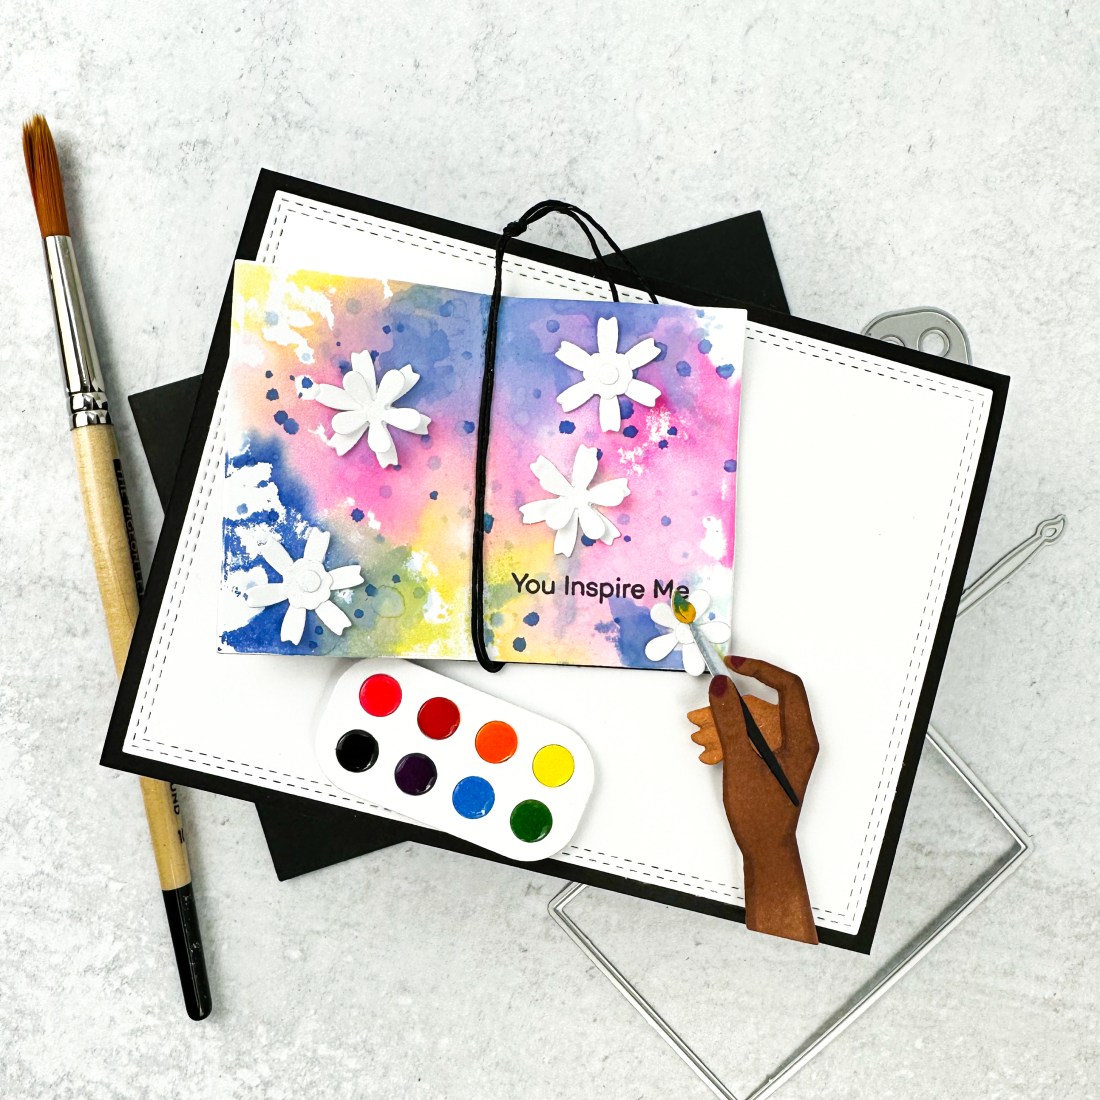
I had so much fun creating this sample! I had a crafty friend in mind when I created this so I can’t wait to send it and brighten her day a bit. I want to encourage you to think outside the box with your supplies. I’m not sure these dies were meant to create a little book or art journal, but it worked perfectly! I kept it pretty clean and simple to keep the focus on the art journal and watercolor palette.

STEP-BY-STEP INSTRUCTIONS
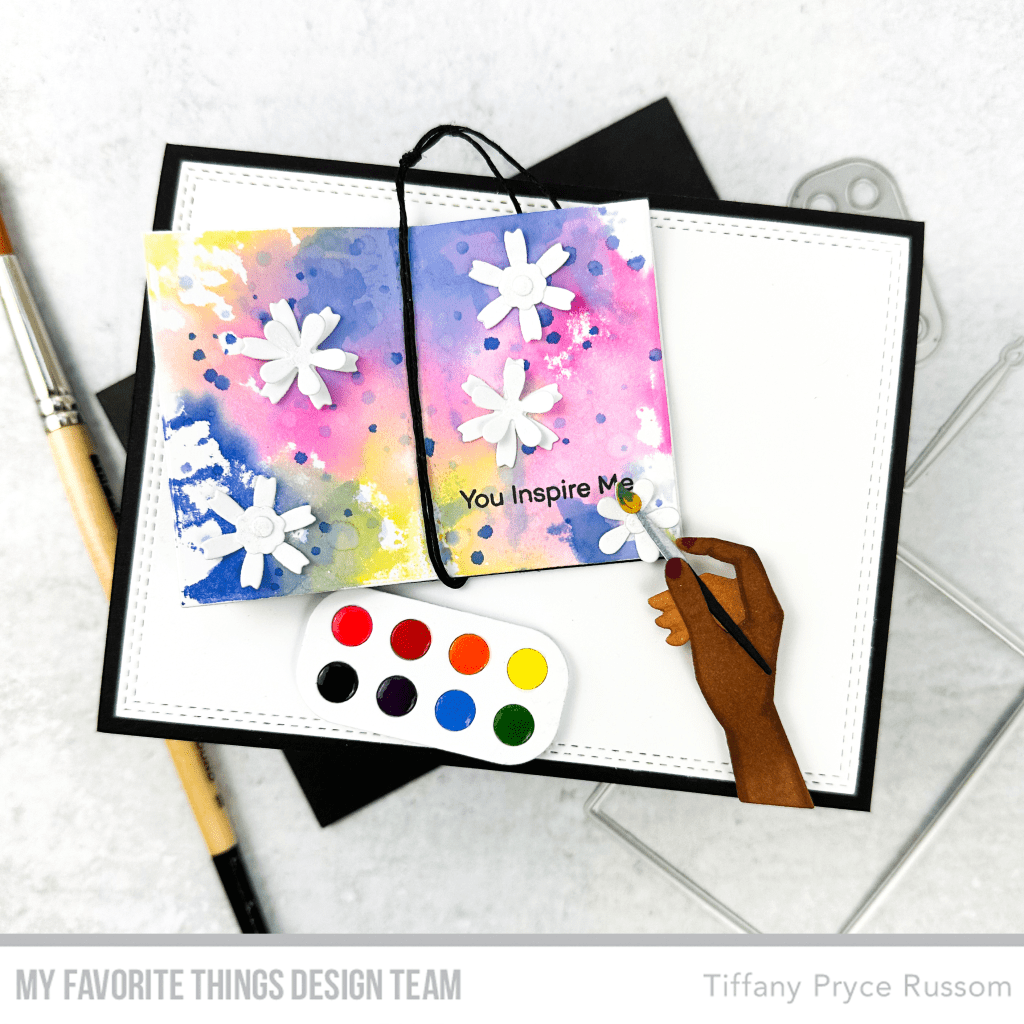
- Create an A2 card base from MFT Black Licorice cardstock.
- Adhere a panel of white cardstock die cut with the A2 Stitched Rectangle STAX Die-namics.
- Die cut the elements for the card front.
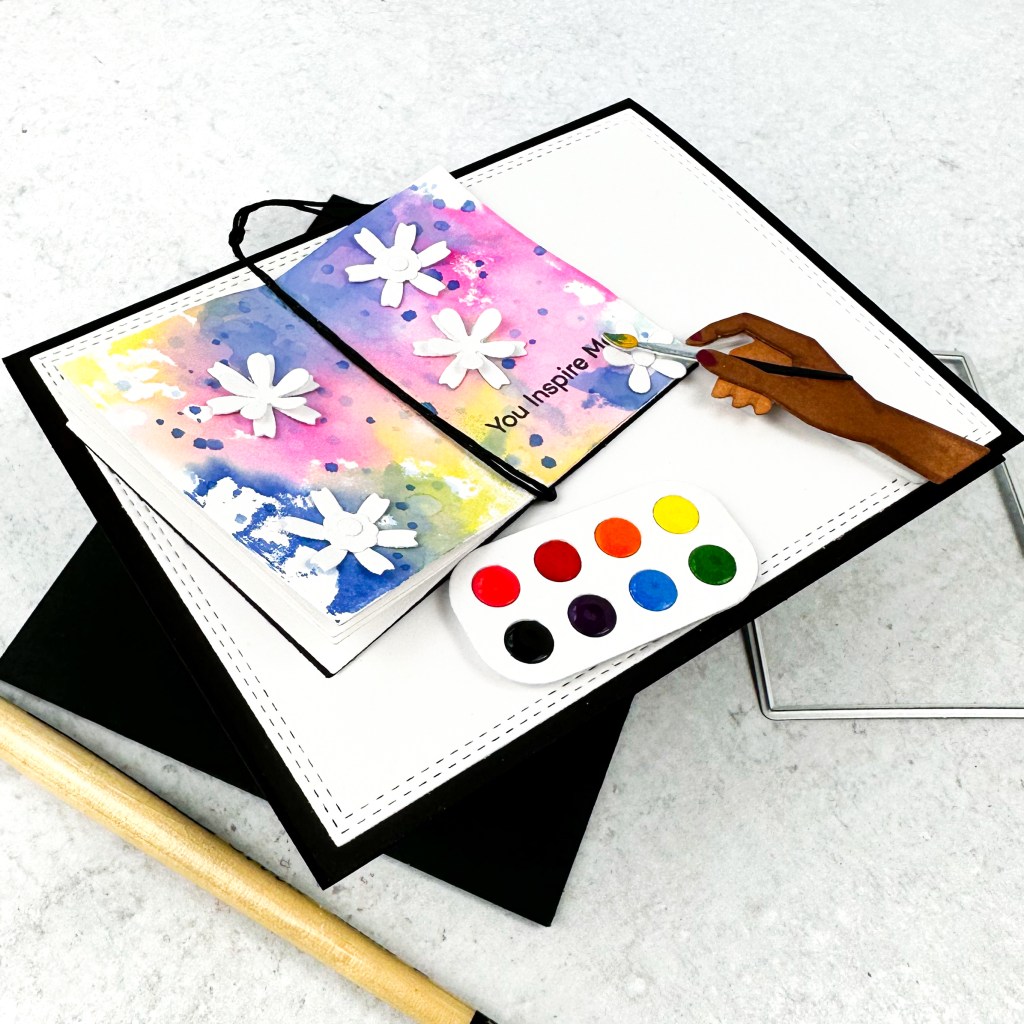
- To create the art journal: die cut several pieces of white copy paper using the largest rectangle in the Paper Goods Die-namics set. Also die cut a “book cover” from Black Licorice cardstock. Adhere the book together by scoring each piece down the middle and adhering with liquid glue only down the middle.
- For the top most layer of the book, ink smoosh several MFT inks on a piece of scrap plastic. Spray with water, and smoosh onto the die cut.
- Once dry, stamp a sentiment from Crafty Friends.
- Adhere some white flowers using the dies from Die Cuts & Scraps Die-namics. I love how it mimics a mini art journal.
- Die cut the hands from Crafty Hands Die-namics and copic color.
- Die cut the watercolor palette and paintbrush from Just Add Paint Die-namics. Color the pieces with copics. Add crystal glaze over the “watercolors” in the palette.
- To create the art journal: die cut several pieces of white copy paper using the largest rectangle in the Paper Goods Die-namics set. Also die cut a “book cover” from Black Licorice cardstock. Adhere the book together by scoring each piece down the middle and adhering with liquid glue only down the middle.
- Adhere the completed elements with liquid glue and foam tape for varied dimension.
- I ended up gluing the pages on the right side of the book together so the hand could fit properly.

Thanks so much for reading! Please go over to the MFT blog to see the samples from the other design team members. They are all so good! Head to the MFT YouTube channel for even more.
Happy crafting,
Tiffany
I’d love to connect with you! Please follow me on IG and my blog, and reach out and say hi!
@ink.therapy.designs
