(*Affiliate links used whenever possible at no extra cost to you.)
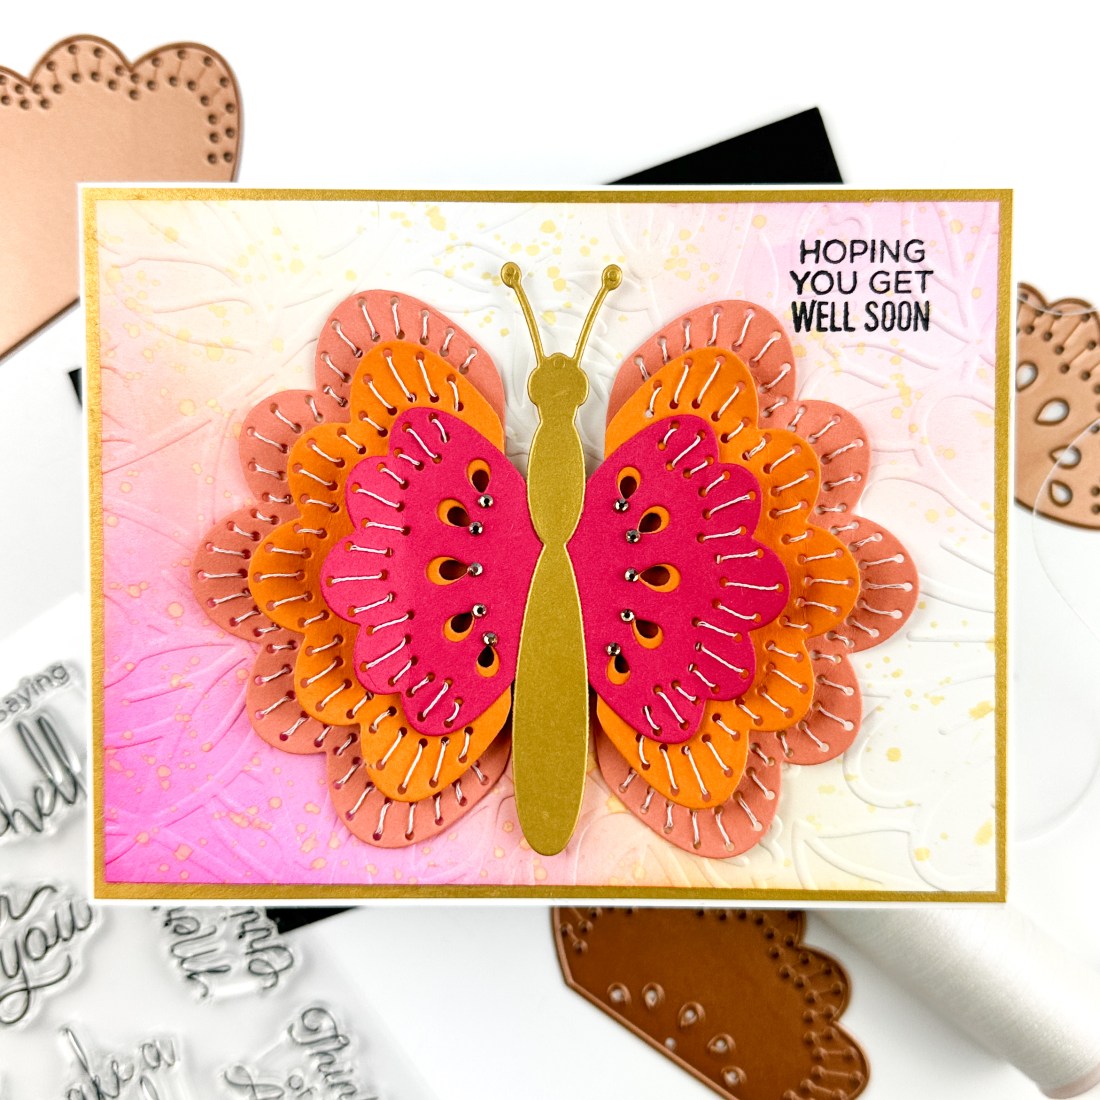
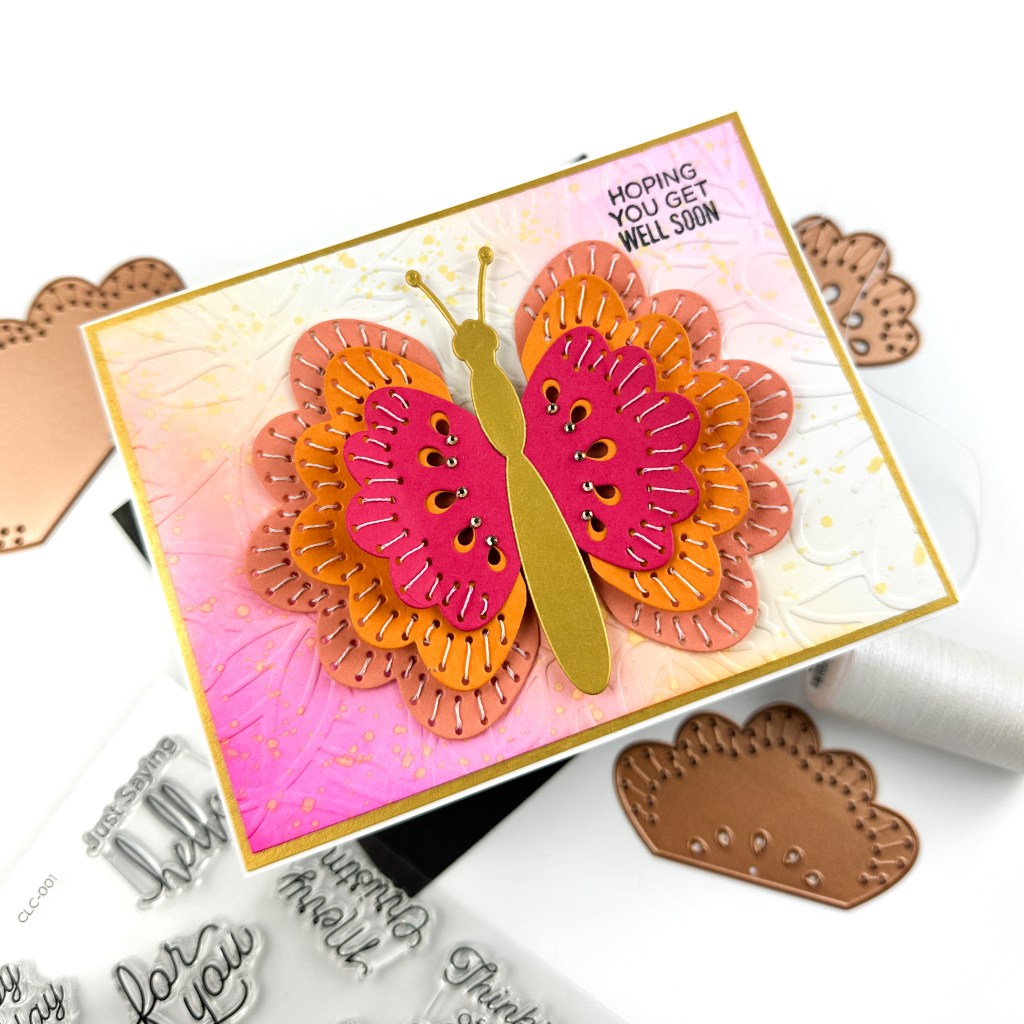
Happy Monday! I am a little late in sharing inspiration using the new April Stitching Die of the Month club called “Stitched Fanfare”. The die set comes with multiple pieces that create two tiered fan shapes for a card front. It also comes with a large sentiment die “For You”. I think the fan shapes can look like many things – floral petals or a clamshell maybe? My crafty friend, Shay, had a good idea to make them butterfly wings which I thought was brilliant! So I ran with the idea, and thought the final result was pretty! What do you see in these “fan” shapes?
The April “New Subscriber” registration window will be available April 6 – 27th, while supplies last. Join in April the club will ship by the 30th. As a reminder, here is a great overview of the monthly clubs program.
STEP-BY-STEP INSTRUCTIONS
- On an A2 card base, adhere a panel of Brushed Gold cardstock. I cut out the middle of the cardstock so I could use it on another project. I like to save cardstock this way, especially speciality cardstock. This cardstock is one of my favorites as it is so beautiful. The gold isn’t too yellow/brass which I’m not very fond of, and it is matte which adds a sophistication.
- On a panel of white cardstock, stamp a sentiment from the Sentimental Greetings stamp set that came out with January’s kit. Stamp in black ink. This stamp set is sold out, but use any sentiment in your stash.
- Lightly ink blend pink and yellow ink on the panel. Splatter with yellow ink.
- Emboss the panel using the Garden Path embossing folder. It was the embossing folder of the month for March 2023.
- Adhere the panel to the card base.
- Using this month’s stitching club, die cut each “fan” twice using peach, orange, and pink cardstock from my stash.
- Stitch each die cut with white DMC metallic thread. I used a very simple straight stitch on the fans. Sometimes clean and easy is best and makes for an elegant card.
- Adhere the top two layers of the fan together with liquid glue and then add foam tape underneath the orange layer.
- Die cut and adhere a butterfly body using the So Many Butterflies die set from Brushed Gold cardstock.
- Adhere the butterfly to the card front with liquid glue.
- Embellish the butterfly with gold gems from Gold Mix Color Essential Gems. Gently fold up the wings for more dimension.


With this card, I hope I’ve inspired you to check out the April club kit. Thanks so much for reading!
Happy crafting,
Tiffany
I’d love to connect with you! Please follow me on IG and my blog, and reach out and say hi!
@ink.therapy.designs
*Affiliate disclosure: I only use, review, and blog about products/companies I actually like and will continue to use. Some of the products shown on my blog use affiliate links. These affiliate links allow me to earn a small commission when products are purchased through those links. *This is at no cost to you!* Please do not feel obligated to use my affiliate links. If you choose to use these links, thank you so much! It helps support my blog and bring new content to you. Read the full disclosure on the about page.
